+86-0574-63316601


 中文简体
Content
When a home appliance starts tripping the breaker, heating unevenly, or refusing to power on, the wiring harness is often the first place to look. A wiring harness is the organized bundle of wires, connectors, terminals, and protective sleeving that carries electrical power and signals from the control board to every component that needs them. Knowing how to install a harness correctly matters whether you are replacing a damaged loom in an air fryer, restoring an older washing machine, or checking a prototype before production. In this guide, we explain the process the way we apply it on our own factory floor, with the practical details that prevent callbacks.
Prepare the Workspace and Prioritize Safety
Installing a wiring harness is not a difficult job, but it demands discipline. The first and most important rule is to disconnect the appliance from the mains before touching anything. Do not rely on a switch being off; pull the plug. If the appliance contains a power supply with capacitors, wait a few minutes for them to discharge, or measure the voltage with a multimeter before handling the circuit board.
Gather the right tools before you begin:
- Phillips and flathead screwdrivers for removing access panels
- Wire strippers and a ratcheting crimping tool for terminal work
- A digital multimeter for continuity checks
- Heat-shrink tubing and a heat gun for insulation repairs
- Cable ties and electrical tape for securing the bundle
- A camera or phone to photograph the original layout
A clean, well-lit workbench also helps. Dropped screws and misread wire colors are the small mistakes that cost the most time. If you are replacing a harness in a kitchen or environmental appliance, take a moment to confirm the exact model and the part number of the new harness before opening the casing.
Know the Anatomy of a Harness
Before you start pulling connectors apart, it helps to understand what you are working with. Most appliance harnesses share the same basic anatomy:
| Component | What It Does |
|---|---|
| Connector housing | The plastic shell that aligns and locks the connection |
| Terminal / contact | The metal piece that establishes electrical contact inside the housing |
| Wire | Conducts current or signals between components |
| Sleeving / conduit | Protects wires from heat, abrasion, and moisture |
| Cable tie / clip | Keeps the bundle routed and prevents strain on connections |
When you inspect the old harness, notice how the wires are grouped. Manufacturers route power wires separately from low-voltage signal wires wherever possible to avoid interference. Reproduce that routing when you install the new harness and you will avoid a whole class of intermittent faults. If you need a refresher on the different types of wiring harnesses used in kitchen and environmental appliances, that guide covers the subject in more detail.
Step-by-Step: How to Install the New Harness
Now for the actual installation. This is the sequence we use when fitting a replacement harness during a repair or rebuild:
- Remove the access panels. Take out the screws and set them aside in order. Photograph the interior before disconnecting anything.
- Disconnect the old harness. Release the locking tabs with a small flathead screwdriver. Pull connectors straight out of their mating ports; never yank on the wires themselves.
- Lay the new harness beside the old one. Compare wire lengths, terminal positions, and connector shapes. Any discrepancy is worth resolving before you proceed.
- Route the new wires along the original path. Keep the bundle clear of sharp metal edges, moving parts, and heating elements. Use the existing clips and grommets.
- Connect each terminal and connector. Push firmly until the locking tab clicks. Give every connector a gentle tug to confirm it is fully seated.
- Secure the harness with fresh cable ties. Do not overtighten; a tie that cuts into the insulation is a future short circuit waiting to happen.
- Reassemble and test. Restore power only after a visual check, then run the appliance through its normal cycle.
When replacing the harness in an air fryer, pay extra attention to the terminals that carry high current to the heating element. A loose connection here creates resistance, which creates heat, which eventually melts the connector. A properly terminated, factory-made harness eliminates that risk from the start.
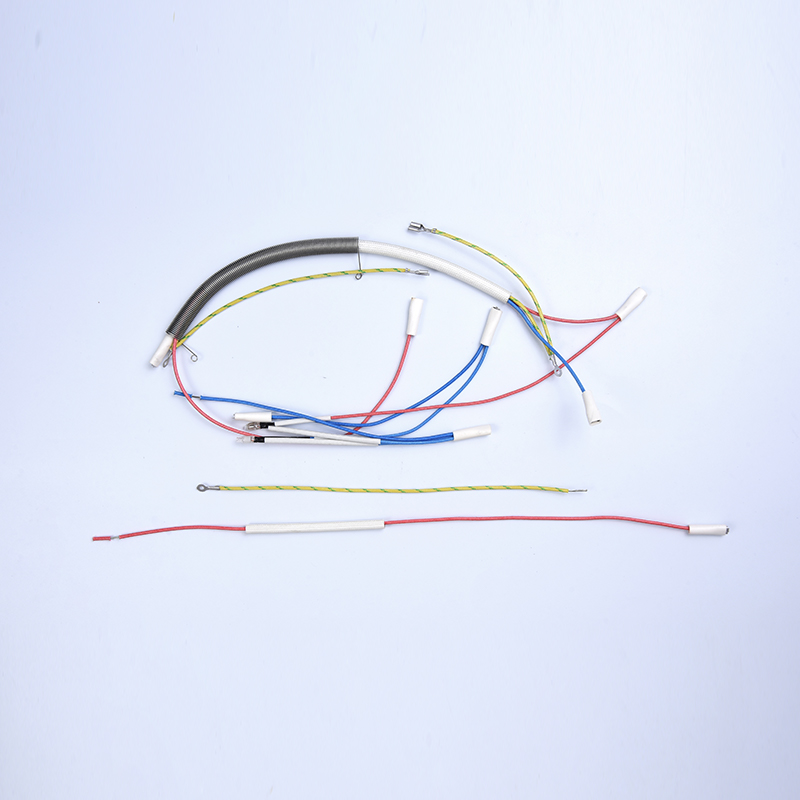
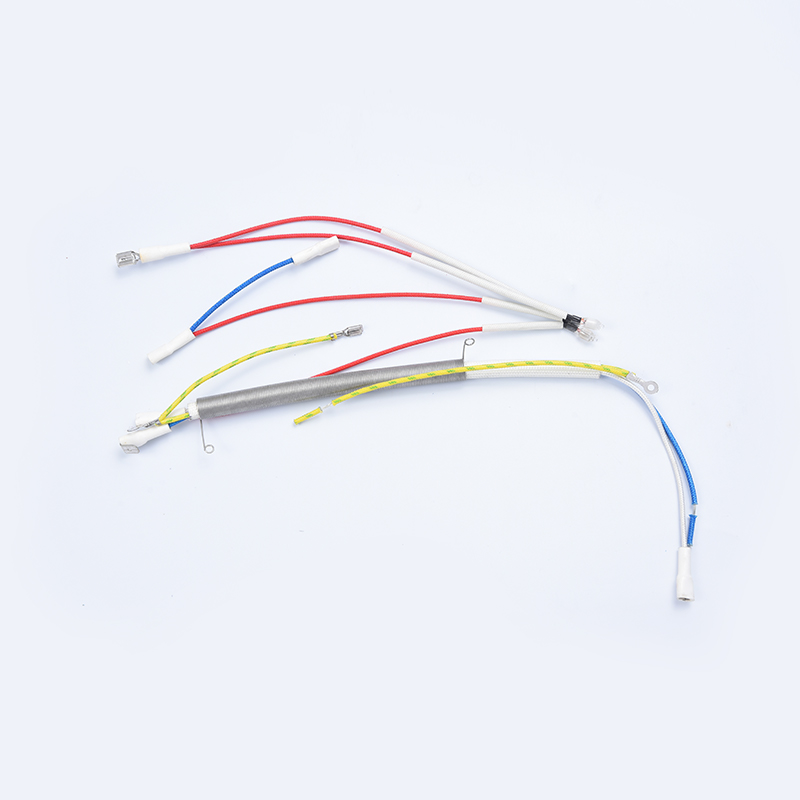
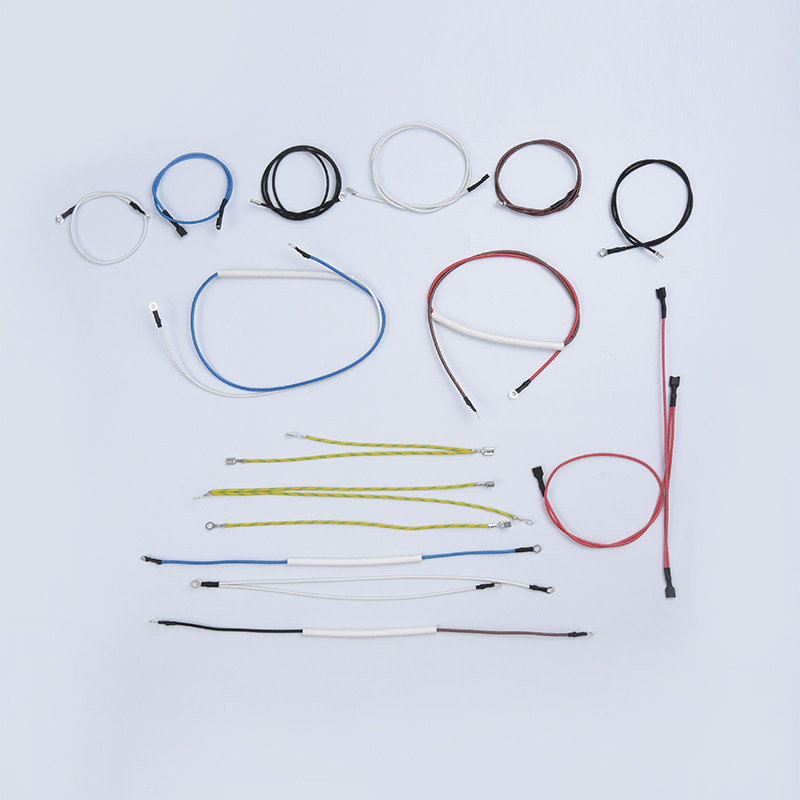 Air Fryer Wiring Harness for Safe, Reliable Power DeliveryReplace your air fryer's factory-made harness to prevent loose high-current connections that can melt connectors. Certified options ensure heat resistance and stable signal transmission between components.View Product →
For a related example, our step-by-step guide to replacing an ice maker wiring harness shows the same process applied to another common appliance.
Common Installation Mistakes to Avoid
Even experienced technicians can slip up. These are the mistakes we see most often when installers work on appliance harnesses:
| Mistake | Consequence |
|---|---|
| Reusing damaged terminals | Intermittent connection and localized overheating |
| Routing wires too close to the heating element | Melted insulation and short circuit |
| Over-tightening cable ties | Crushed conductors inside the insulation |
| Forcing a connector into the wrong port | Bent pins and intermittent contact |
| Skipping the final continuity test | A hidden fault surfaces only after reassembly |
Take the extra minute to check the routing before you close the appliance. Once the panels are screwed back on, a pinched wire becomes much harder to find.
Test the Installation Before You Finish
Testing is not optional. After the harness is connected but before the casing goes back together, run through these checks:
- Continuity test. Set the multimeter to beep mode and check each wire end to end. The beep should sound without breaks.
- Visual inspection. Look at every connector from the side to confirm the terminals are fully seated and no wire strands are sticking out.
- Insulation check. If you have an insulation resistance tester, verify that there is no leakage between adjacent circuits.
- Function test. Reassemble the appliance and run it through a complete cycle, confirming that heating, timing, and safety cut-offs operate correctly.
If any check fails, do not simply push the connector harder. Disconnect, inspect the terminal, and fix the root cause. The goal is an installation that looks and behaves exactly like a factory assembly.
When a Standard Harness Is Not Enough
There are times when a generic replacement is not the right answer. Older appliances, repaired prototypes, and products modified from their original design often need a different wire length, a different connector, or a harness integrated with an NTC temperature sensor. In those situations, working with a manufacturer that builds custom harnesses is more reliable than splicing wires together on a workbench.
An electric kettle harness, for example, must tolerate humidity and vibration while delivering power to the heating element. A kettle that lives on a kitchen counter deserves a harness with properly crimped terminals, sealed connections, and heat-rated sleeving. That level of detail is exactly what we build into every environmental electrical wiring harness.
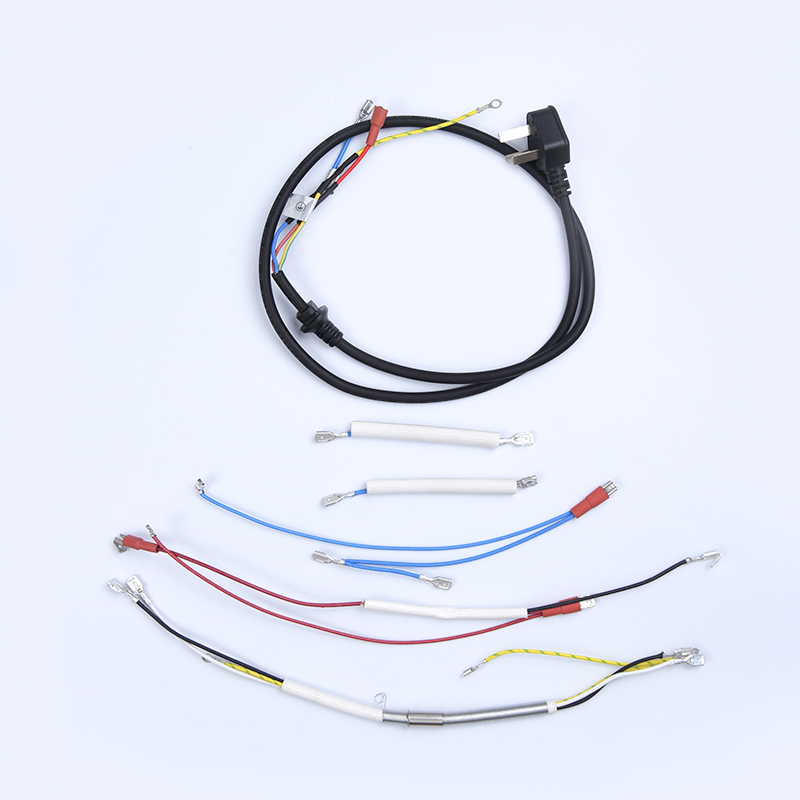
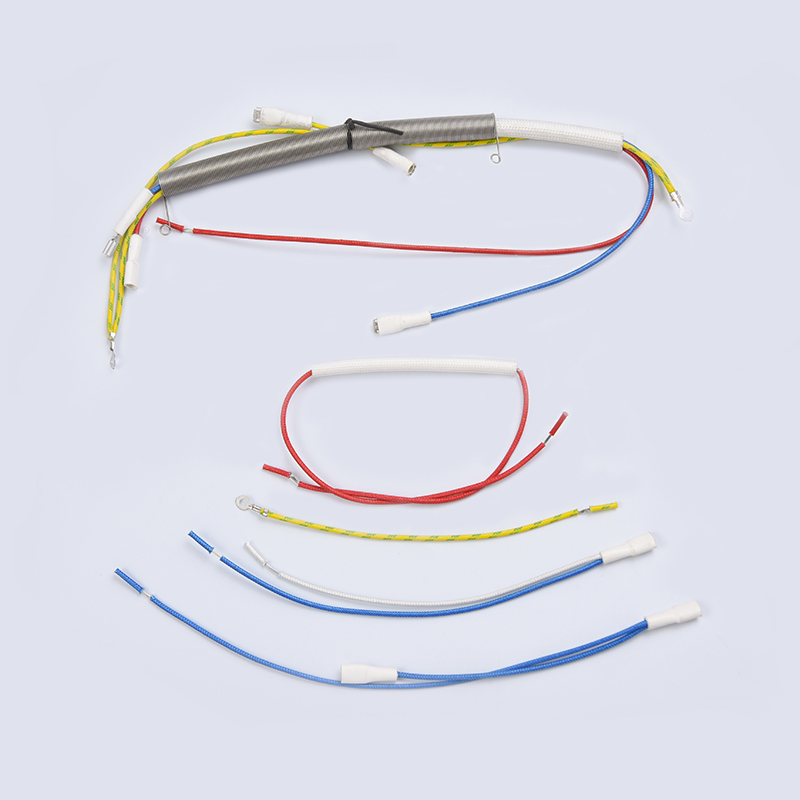
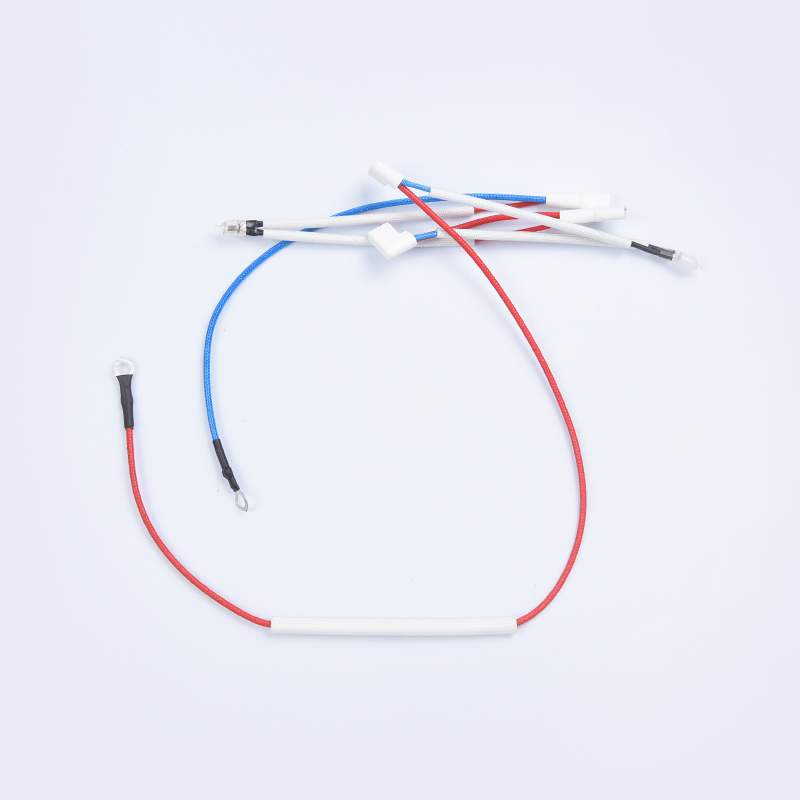 Electric Kettle Wiring Harness Built for Moisture and VibrationThis purpose-built harness handles humidity, vibration, and heating-element power with crimped terminals and sealed, heat-rated sleeving—a smart upgrade over aging or mismatched wiring.View Product →
A washing machine harness, by contrast, has to survive constant flexing, detergent residue, and high inrush currents from the motor. Field repairs on such a harness rarely last as long as the rest of the machine, which is why a purpose-built replacement is almost always the smarter choice.
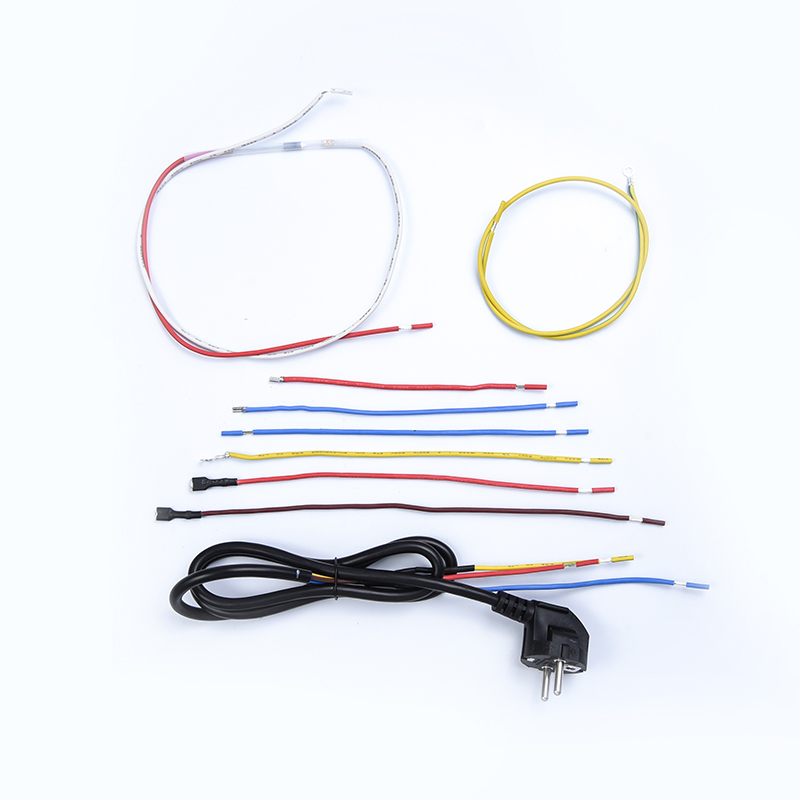
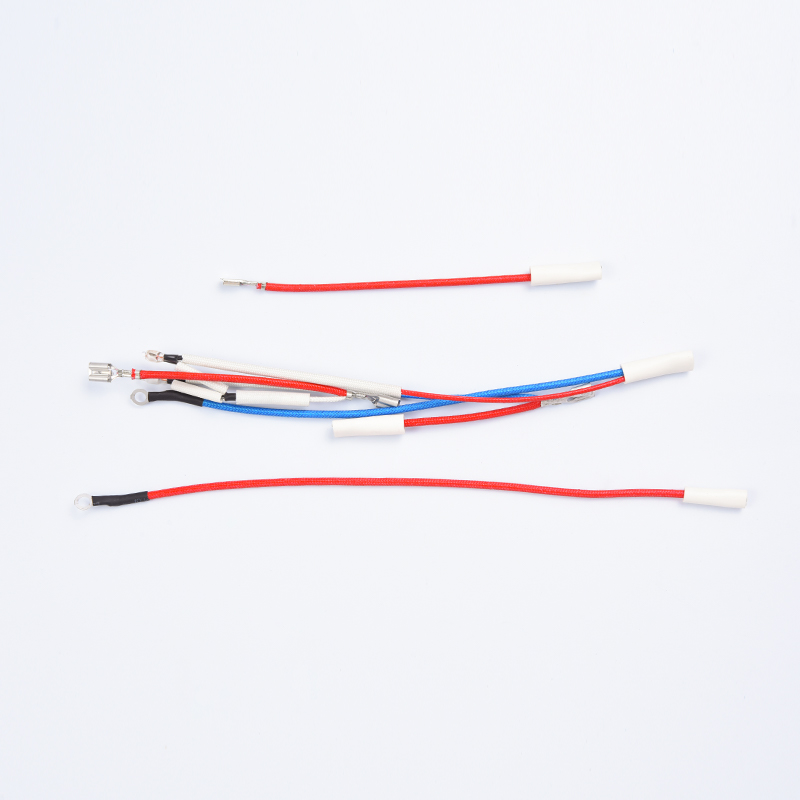
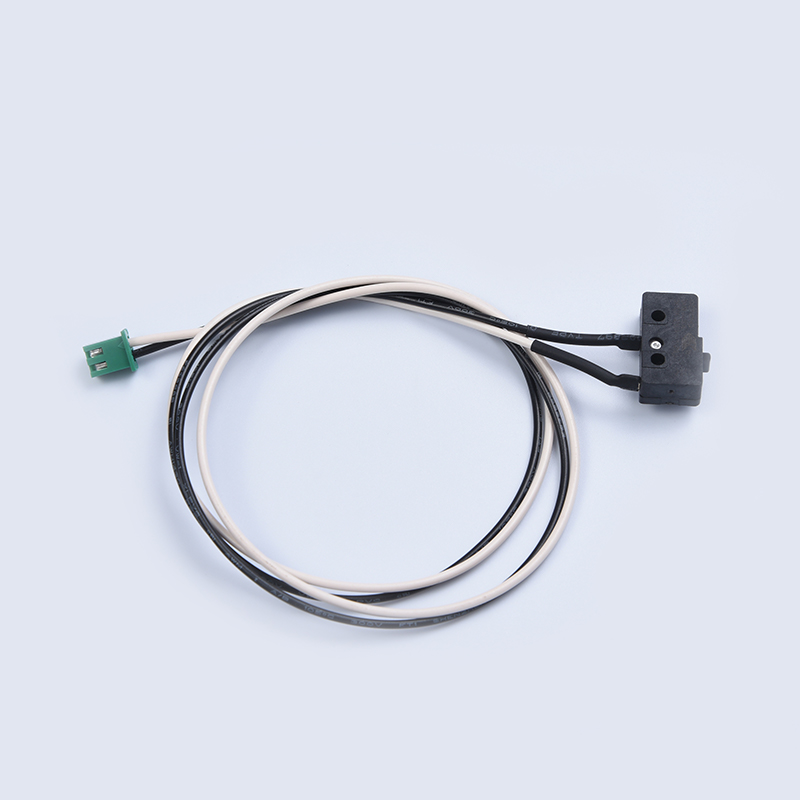 Washing Machine Wiring Harness for Constant Flexing and Inrush CurrentsA factory-made replacement engineered for detergent exposure, vibration, and motor surges, with waterproof insulation and production-line continuity testing for long-lasting, reliable operation.View Product →
When you source harnesses from our factory, you get exactly the wiring configuration your appliance needs, validated by continuity and insulation testing on the production line. That is the quiet difference between a harness that works reliably and one that causes problems a year later.
Installing a wiring harness is mostly a matter of methodical work: prepare, disconnect, compare, route, connect, secure, and test. None of these steps is complicated by itself, but together they turn a repair into a permanent fix. If the harness you need is no longer available, or if you are designing a new appliance and want the wiring to be right from the start, our team is always happy to talk through the options.