+86-0574-63316601
Content
- 1 Understanding the Components of the Electric Baking Pan Wiring Harness
- 2 Tools and Equipment Needed to Work on the Electric Baking Pan Wiring Harness
- 3 Safety Precautions Before Handling the Electric Baking Pan Wiring Harness
- 4 Step-by-Step Guide to Removing the Old Electric Baking Pan Wiring Harness
- 5 Inspecting and Testing the Electric Baking Pan Wiring Harness for Damage
Understanding the Components of the Electric Baking Pan Wiring Harness
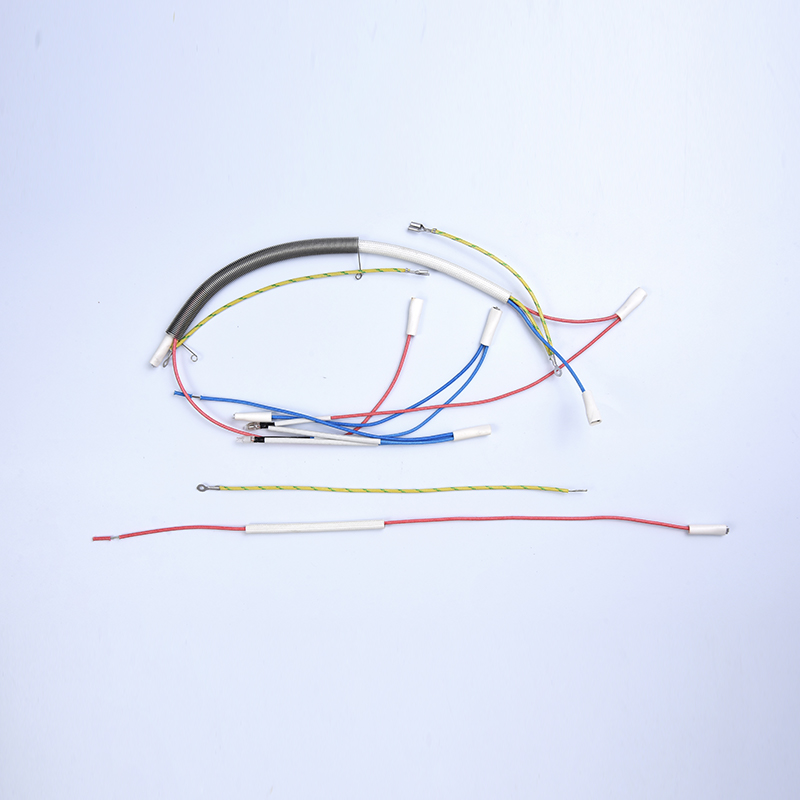
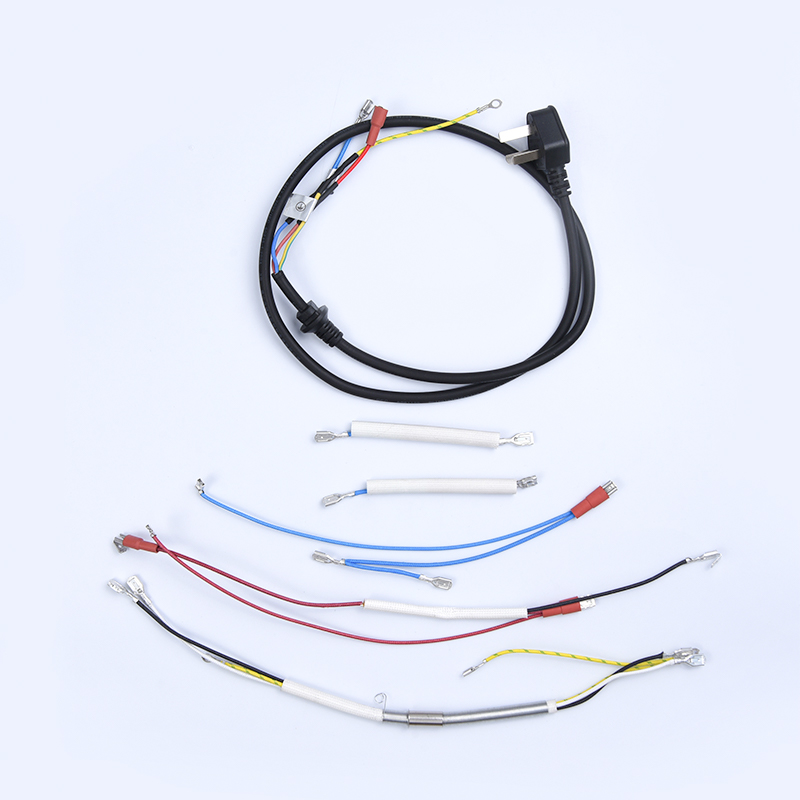
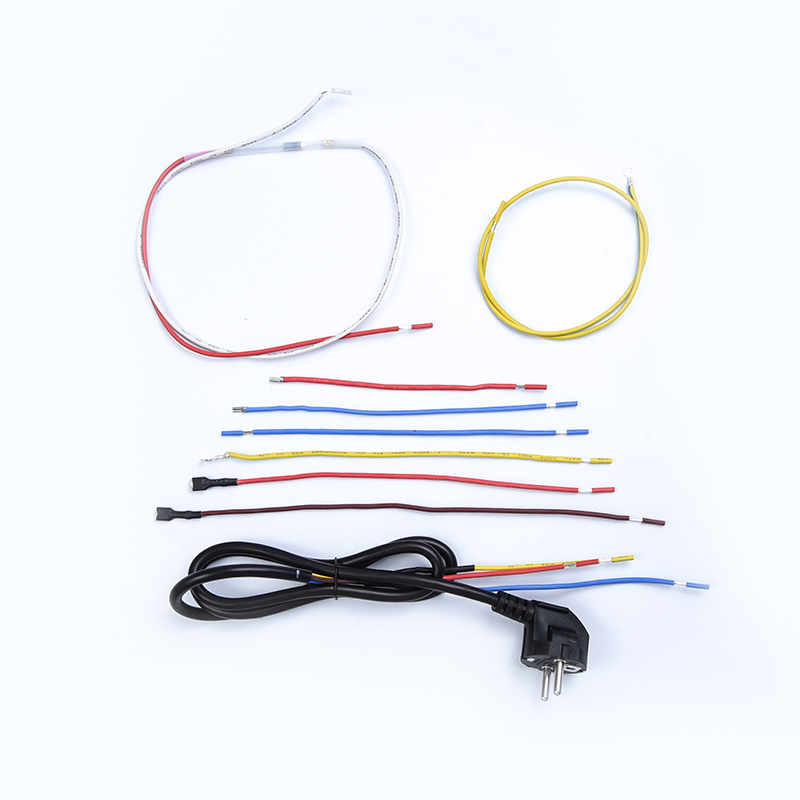
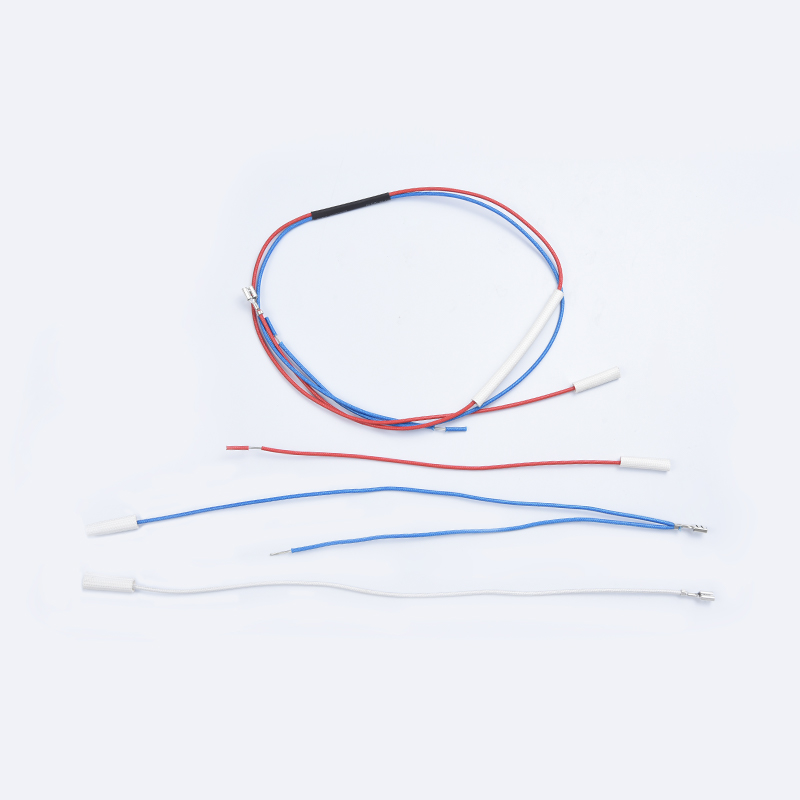
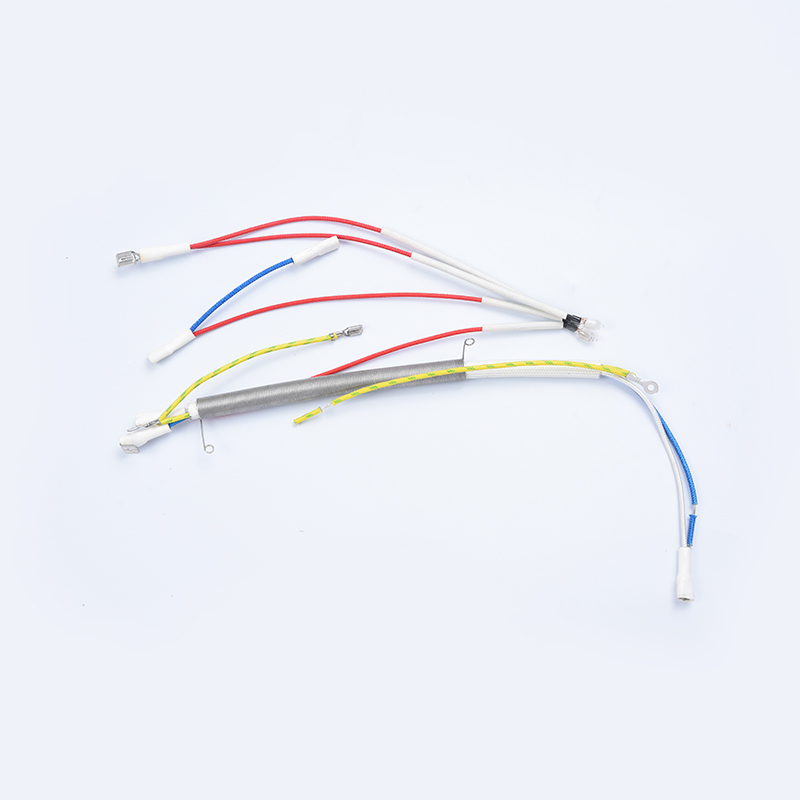
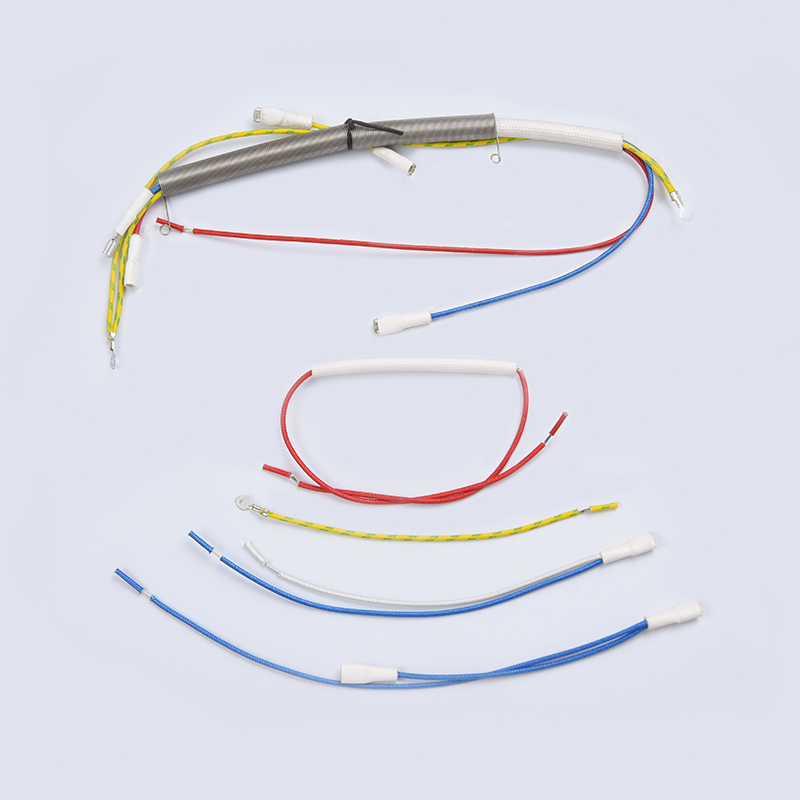
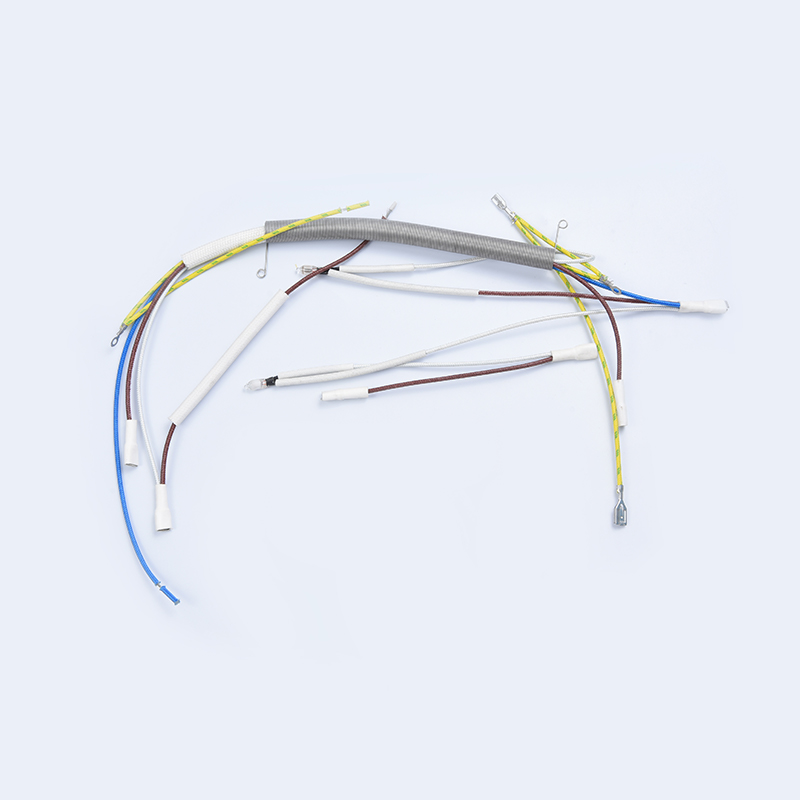
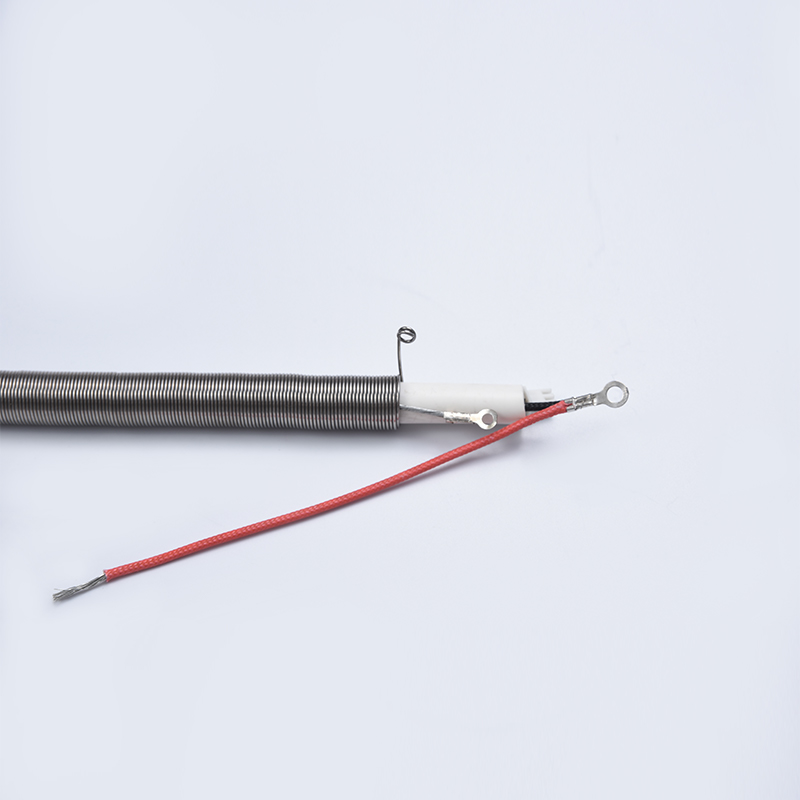
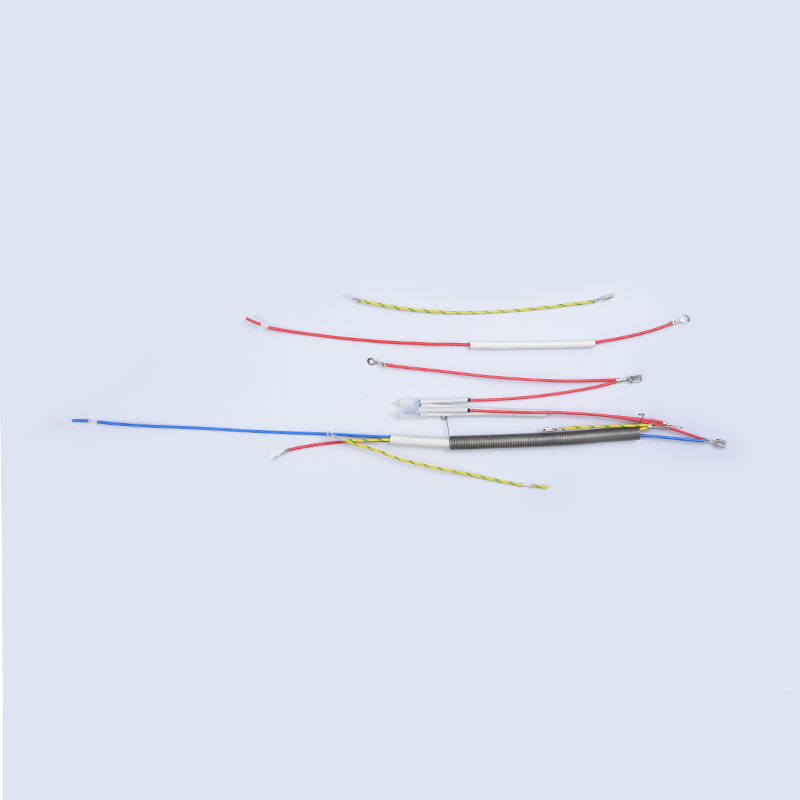
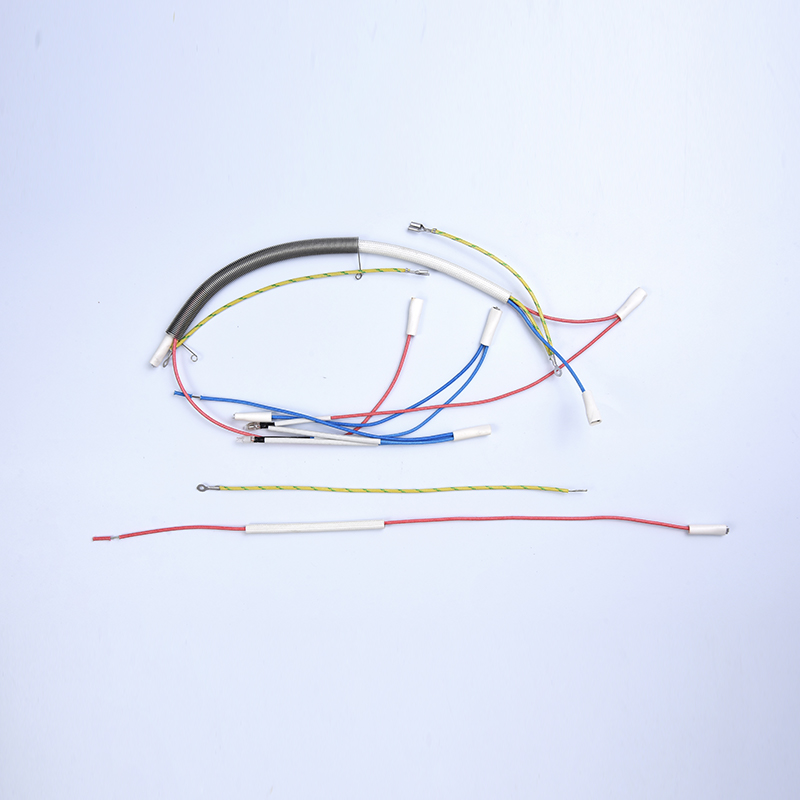
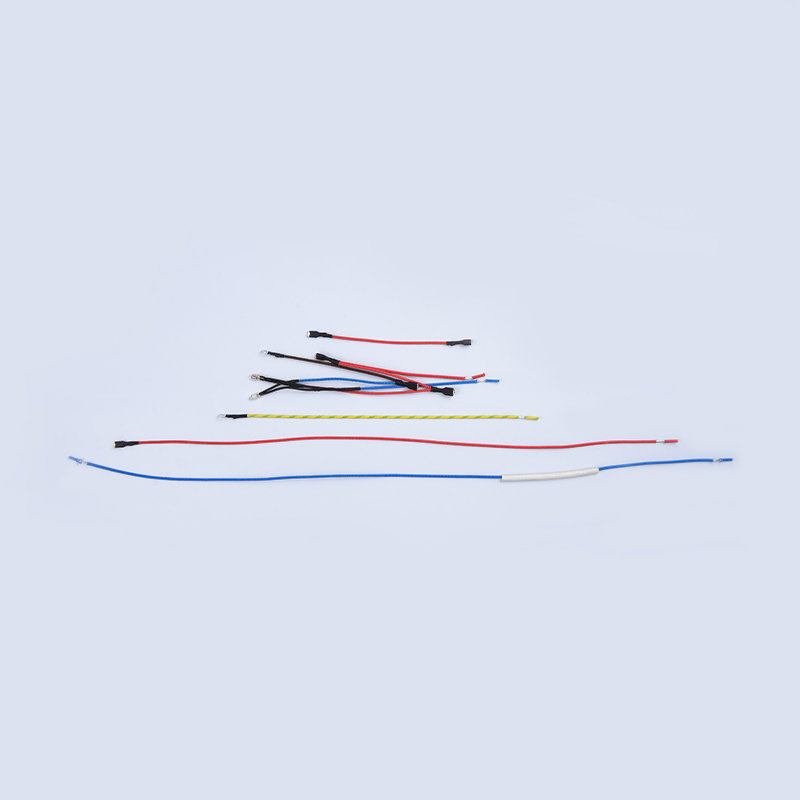
When working with an Electric Baking Pan Wiring Harness, it is essential to fully understand the components that make up the system. A wiring harness is not simply a bundle of wires; it is a carefully designed network that ensures electric current flows safely and efficiently from the power source to various components of the electric baking pan. The integrity and quality of each component are critical for the performance, safety, and longevity of the appliance.
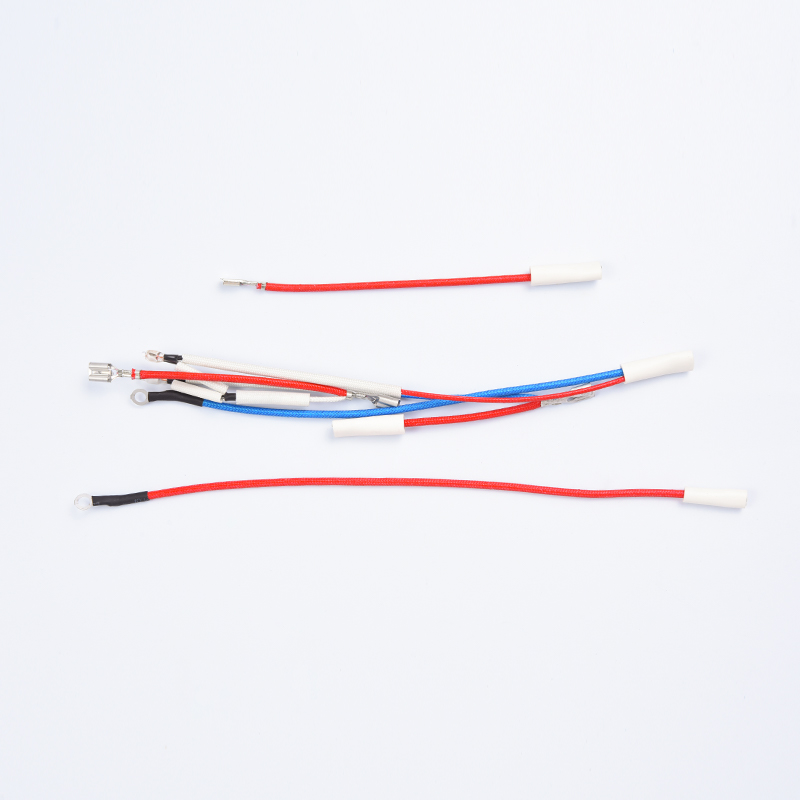
The first and most visible component of the Electric Baking Pan Wiring Harness is the wires themselves. These wires are usually made of copper or aluminum, materials known for their excellent conductivity. The wire gauge, insulation type, and temperature rating are all vital characteristics. Copper wires are commonly preferred because they offer low resistance and better durability, while aluminum wires may be used in some lower-cost or specialized models. The insulation around the wire is another key factor. It must be heat-resistant to withstand the high temperatures generated during cooking and moisture-resistant to prevent short circuits or corrosion. Common insulation materials include silicone, PVC, and Teflon, each providing a balance between flexibility, heat tolerance, and durability.
Another crucial element of the Electric Baking Pan Wiring Harness is the connectors. These are the points where wires interface with other components such as the heating element, thermostat, control board, and power inlet. Connectors must maintain a secure mechanical and electrical connection, even under repeated heating and cooling cycles. Loose or poorly designed connectors can cause arcing, overheating, and even fires, making them one of the most critical safety features of the wiring harness. Connectors are often made of high-temperature-resistant plastic or metal, designed to snap into place or be fastened with screws or clips. Some advanced models may use sealed connectors to provide additional protection against moisture and debris.
The terminals are closely related to connectors but specifically refer to the metallic end-points that create the actual electrical contact. Terminals can be crimped, soldered, or screw-mounted, and their design must match the connector type to ensure a solid electrical connection. Using the wrong terminal can increase electrical resistance, potentially leading to overheating of the wiring harness and surrounding components. In high-quality electric baking pans, terminals are often coated with tin or nickel to prevent oxidation, which can degrade the contact quality over time.
Fuses and thermal protectors are sometimes integrated into the Electric Baking Pan Wiring Harness to prevent dangerous electrical conditions. Fuses act as safety devices that interrupt the current flow when it exceeds a certain threshold, protecting both the wiring and the heating element. Thermal protectors work in a similar way but are triggered by temperature rather than current. These components are crucial in preventing fires and protecting the appliance during electrical faults, power surges, or overheating events.
The routing and bundling of wires within the harness are also important components that affect both safety and performance. Wires are typically bundled together using zip ties, braided sleeves, or heat-resistant tapes. Proper bundling reduces mechanical stress, prevents abrasion against sharp edges, and helps maintain a neat internal layout, which is especially important in compact electric baking pans. Poorly routed wires can rub against sharp metal edges, leading to insulation wear and eventual short circuits. Additionally, proper routing ensures that heat from the pan or heating element does not excessively degrade the insulation or connectors.
Strain relief components are another subtle but vital part of the Electric Baking Pan Wiring Harness. These are often small plastic or rubber pieces that prevent the wires from being pulled or stressed at critical points, such as where the wires enter the pan housing or the connector interfaces with a control board. Without proper strain relief, the harness can develop weak points that lead to electrical failures, intermittent performance issues, or complete disconnection over time.
Some advanced electric baking pans incorporate integrated sensors or thermocouples within the wiring harness. These components monitor temperature, current, or voltage in real-time and send feedback to the control system to regulate cooking performance. For example, a temperature sensor may trigger the thermostat to cycle the heating element on and off, maintaining a consistent cooking temperature. The wiring harness must accommodate these sensors with dedicated wires and connectors, ensuring accurate and reliable data transmission. Any damage or poor connection in these wires can lead to inaccurate temperature readings, causing uneven cooking or safety hazards.
The shielding and grounding of the Electric Baking Pan Wiring Harness are also key components for ensuring safety and performance. Shielding may involve a metallic layer or braid around sensitive wires to prevent electromagnetic interference (EMI) from affecting the signals sent to control circuits. Grounding ensures that any stray electricity is safely directed away from the user, reducing the risk of electric shock. Proper grounding is particularly important in metal-bodied baking pans, such as those made from cast iron or stainless steel, where the pan surface itself can become conductive.
Finally, the overall design and quality control of the wiring harness determine its reliability. Manufacturers often test the harness under simulated operating conditions, including high temperature cycles, vibration, and electrical load testing. A well-designed harness ensures that every component—from wires to connectors, terminals, fuses, and sensors—works together seamlessly, providing long-term durability and safety. Quality control processes may include visual inspections, continuity tests, and high-voltage testing to verify insulation integrity and component performance.
Understanding each of these components is not just academic; it directly affects the ability to safely replace or repair an Electric Baking Pan Wiring Harness. By knowing the function of each wire, connector, terminal, fuse, and protective device, users can identify potential failure points, select compatible replacement parts, and ensure the appliance continues to operate safely and efficiently. Proper knowledge of these components also facilitates troubleshooting and preventive maintenance, allowing the pan to maintain consistent cooking performance over time.
The components of an Electric Baking Pan Wiring Harness work together as a system. Ignoring even a single aspect, such as the quality of the insulation, the security of a connector, or the presence of a thermal protector, can lead to failures ranging from poor heating performance to severe electrical hazards. Therefore, when approaching a replacement or repair task, it is critical to have a comprehensive understanding of what each part does, how it interacts with other parts, and what safety precautions are required to handle them properly. This foundational knowledge is the first and most important step toward ensuring that the Electric Baking Pan Wiring Harness functions safely and reliably in every cooking scenario.

Tools and Equipment Needed to Work on the Electric Baking Pan Wiring Harness
Successfully working on an Electric Baking Pan Wiring Harness requires not only a detailed understanding of its components but also the correct set of tools and equipment. Using improper tools or insufficient equipment can lead to damage of the harness, poor electrical connections, or even safety hazards such as electric shock or fire. Each tool serves a specific purpose, whether for disassembly, inspection, connection, or testing, and having the right tools is essential for safe and effective work on the wiring harness.
The first category of essential tools includes basic hand tools. Screwdrivers are indispensable when dealing with the screws that secure connectors, terminal blocks, or the pan housing. Both flathead and Phillips screwdrivers may be required depending on the design of the electric baking pan. High-quality screwdrivers with insulated handles are preferable because they provide additional protection against accidental electrical contact. A set of precision screwdrivers may also be necessary for smaller screws in compact wiring harness components, particularly near sensitive electronics or control boards.
Pliers are another crucial hand tool for handling the wiring harness. Needle-nose pliers are used for manipulating wires in tight spaces, bending wires to the correct shape, or inserting wires into connectors. Diagonal cutters or wire cutters are essential for trimming wires to length or removing damaged sections of the harness. Lineman pliers offer a combination of cutting, twisting, and gripping functions, which are useful for assembling terminals or bundling wires. When working on an Electric Baking Pan Wiring Harness, pliers with insulated grips are highly recommended to reduce the risk of accidental electrical shock, especially when testing live circuits.
Another important tool category is wire stripping and crimping tools. Wire strippers allow for the precise removal of insulation from the end of a wire without damaging the conductor, which is crucial for maintaining a safe and secure connection. The stripping tool should have adjustable gauge settings to accommodate the different wire sizes typically found in an electric baking pan, ranging from thin sensor wires to thicker heating element wires. Crimping tools are required to attach terminals or connectors securely to the stripped wire ends. A high-quality crimper ensures that the connection is mechanically stable and electrically reliable, minimizing resistance that could lead to overheating. Some advanced crimpers even provide ratchet mechanisms to ensure uniform pressure for consistent crimps, which is particularly valuable when working with multiple identical connections in a wiring harness.
Multimeters are essential diagnostic and testing equipment when working on an Electric Baking Pan Wiring Harness. A multimeter measures voltage, current, and resistance, allowing for precise verification of circuit integrity and identification of faulty components. Before working on the harness, the multimeter can check for continuity in wires and connectors, ensuring that there are no breaks or intermittent faults. During troubleshooting, it can verify that voltage is being properly delivered to the heating element, thermostat, or control electronics. A digital multimeter with auto-ranging capability is recommended for convenience and accuracy. It is also advantageous to select a multimeter with insulated probes to maintain user safety when testing components that may retain charge.
Another essential tool is a continuity tester, which is sometimes built into a multimeter but can also be a standalone device. Continuity testers allow for quick verification that a wire or connector is providing an unbroken electrical path. This tool is particularly useful when examining the Electric Baking Pan Wiring Harness for intermittent faults caused by bent or damaged wires. Proper use of a continuity tester helps prevent unnecessary replacement of wires or connectors and provides insight into specific points of failure within the harness.
Heat-resistant gloves and other personal protective equipment (PPE) are critical for safety while handling an electric baking pan and its wiring harness. Even when the appliance is powered off, residual heat from recent use can be present, especially near the heating elements or cast iron surfaces. Gloves made from heat-resistant materials protect the hands while allowing sufficient dexterity to handle small wires, connectors, and tools. Additional PPE may include safety goggles to prevent eye injuries from flying debris during wire cutting, stripping, or connector installation, and protective mats to prevent accidental short circuits by providing a non-conductive work surface.
Magnification tools, such as a magnifying glass or jeweler’s loupe, can be very helpful when dealing with intricate wiring or small connectors in an Electric Baking Pan Wiring Harness. Magnification allows technicians or DIY enthusiasts to inspect wire ends, terminals, and connectors for damage, corrosion, or poor contact points. Identifying small defects early can prevent long-term failures and ensure that the harness is installed and maintained correctly.
Cable management tools, such as zip ties, cable clamps, and braided sleeves, are important for organizing the wires of the harness once repairs or replacements are completed. Proper cable management not only improves the aesthetics of the wiring but also reduces mechanical stress and minimizes the risk of abrasion or short circuits. When bundling wires, it is crucial to avoid over-tightening zip ties, as excessive pressure can damage the insulation and compromise the integrity of the Electric Baking Pan Wiring Harness.
Electrical tape and heat shrink tubing are additional tools that enhance the safety and durability of the wiring harness. Electrical tape can provide extra insulation for exposed wire sections or connections, while heat shrink tubing offers a more permanent solution by creating a tight, protective covering when heated. Both materials help prevent accidental contact with live wires and protect against environmental factors such as moisture, dust, and heat. High-quality, heat-resistant electrical tape or tubing should be used to match the operating temperature range of the electric baking pan.
Power tools may occasionally be needed, especially when disassembling tightly secured components of the pan housing. Cordless drills or screwdrivers can speed up the removal of panels or screws, but care must be taken to avoid damaging the wiring harness or control electronics. When using power tools near electrical components, ensuring that the pan is unplugged and completely discharged is mandatory for safety.
For advanced diagnostics, a thermal camera or infrared thermometer can be invaluable when testing the Electric Baking Pan Wiring Harness under power. These tools allow technicians to detect hot spots or abnormal temperature rises in wires, connectors, or terminals. Identifying these hot spots early can prevent potential fire hazards and guide corrective action, such as replacing damaged wires or improving connections.
Finally, replacement components and spare parts should be considered part of the essential equipment when working on an Electric Baking Pan Wiring Harness. Having compatible wires, connectors, terminals, fuses, and insulation materials on hand ensures that repairs or replacements can be completed efficiently and safely. Using genuine or high-quality aftermarket parts is critical to maintaining the integrity and safety of the appliance. Components that do not match the original specifications can result in increased resistance, overheating, or premature failure of the wiring harness.
The combination of these tools and equipment ensures that anyone working on an Electric Baking Pan Wiring Harness can do so efficiently, safely, and effectively. Proper selection and use of tools directly affect the success of installation, repair, or maintenance tasks. Each tool serves a distinct purpose, from cutting and stripping wires, securing terminals, testing continuity, managing cables, to ensuring safety. Without the right tools, even minor repairs or replacements can become dangerous or ineffective, compromising both the appliance and user safety.
Mastery of these tools, along with thorough knowledge of the wiring harness components, enables technicians and DIY users to handle complex electrical connections with confidence. Using high-quality, purpose-specific tools minimizes the risk of damage to the wires, connectors, terminals, and associated electronics, while providing precise and reliable results. Understanding the function of each tool and how it interacts with the Electric Baking Pan Wiring Harness ensures a professional approach to installation, repair, and maintenance, ultimately supporting long-term appliance performance and safety.

Safety Precautions Before Handling the Electric Baking Pan Wiring Harness
When dealing with an Electric Baking Pan Wiring Harness, prioritizing safety is absolutely essential. Unlike simple household maintenance tasks, working on a wiring harness involves exposure to electrical currents, heat, and sensitive components, any of which can cause serious injury or permanent appliance damage if proper precautions are not followed. Before attempting to handle, inspect, or replace an electric baking pan wiring harness, understanding and adhering to strict safety protocols ensures both personal safety and the longevity of the appliance.
The first and most fundamental safety precaution is to disconnect the appliance from any power source. An unplugged electric baking pan eliminates the immediate risk of electric shock, which is particularly critical when handling exposed wires, terminals, or connectors. Even when the pan is turned off using its control switch, residual current may remain in certain components. Therefore, completely disconnecting the power cord from the wall outlet is mandatory. For extra precaution, some professionals recommend using a voltage tester or multimeter to verify that no electrical current is present before beginning work on the wiring harness. This step ensures that the Electric Baking Pan Wiring Harness is safe to touch and minimizes the risk of injury.
Another important precaution involves addressing residual heat in the appliance. Electric baking pans often use heating elements capable of reaching very high temperatures, and even after being turned off, these elements and surrounding surfaces can retain heat for a significant period. Handling the pan immediately after use without adequate cooling can result in burns. Wearing heat-resistant gloves provides an additional layer of protection when working on the wiring harness, particularly near the cast iron or stainless steel surfaces that conduct heat efficiently. Allowing the pan to cool completely before any inspection or repair work is a key step in maintaining safety.
The work environment also plays a critical role in safely handling an Electric Baking Pan Wiring Harness. The workspace should be dry, well-lit, and free from clutter. Water and electricity are a dangerous combination, so keeping the area dry reduces the risk of short circuits and electrical accidents. A non-conductive, insulated work surface is highly recommended, particularly when laying out the wiring harness for inspection or repairs. Using proper lighting ensures that every wire, connector, and terminal can be clearly seen, which helps prevent mistakes such as improper connections or accidental contact with live components.
Using the correct personal protective equipment (PPE) is another essential safety measure. In addition to heat-resistant gloves, safety goggles should be worn to protect the eyes from sparks, flying debris, or accidental wire snaps. A long-sleeved shirt made from non-conductive materials can further minimize exposure to electrical hazards. For those working in professional or industrial environments, additional PPE such as insulated mats, footwear, and grounding straps may be recommended to provide maximum protection when handling electrical components, particularly during testing phases where the appliance may still be powered intermittently.
Before any physical handling, it is important to familiarize yourself with the wiring diagram and layout of the electric baking pan. Most appliances come with schematics that identify the various components of the Electric Baking Pan Wiring Harness, including wires, connectors, terminals, fuses, and sensors. Studying the diagram helps prevent accidental disconnection or shorting of critical components. Knowing the exact layout and function of each wire reduces the risk of damaging sensitive parts, such as temperature sensors, control boards, or heating elements. Awareness of the electrical pathways also allows for the identification of potential hazards, such as high-current lines or exposed terminals that require special care.
Inspection for physical damage is another preemptive safety step. Before touching or manipulating the wiring harness, visually check for frayed wires, cracked insulation, exposed conductors, or loose connectors. Damaged wires can pose both shock and fire risks, and attempting to work on them without proper precautions can result in serious accidents. Identifying these vulnerabilities early allows for careful planning of the repair or replacement process, including isolating the damaged section, using protective insulation, or replacing faulty components entirely.
Proper handling techniques are critical when working on the Electric Baking Pan Wiring Harness. Avoid pulling or twisting wires excessively, as this can damage the insulation or internal conductors. Wires should be supported at both ends, particularly when detaching connectors, to prevent strain on terminals. When inserting or removing connectors, it is important to use the correct tools, such as needle-nose pliers or connector extraction tools, to avoid applying excessive force that could damage the connector or wire. Keeping hands away from metal surfaces that could be live, even inadvertently, is also an essential precaution.
Awareness of the surrounding materials is also crucial for safety. Many electric baking pans contain cast iron or other metal components that can conduct electricity. When working near these materials, ensure that tools are insulated, and avoid making direct contact with metal surfaces while testing or handling live circuits. Maintaining a clear distinction between conductive and non-conductive surfaces reduces the risk of electrical shock, especially when manipulating exposed wiring or connecting terminals. Understanding the conductive pathways within the appliance can prevent accidental short circuits or damage to sensitive electronics.
Another key safety measure is proper grounding and anti-static precautions. For modern electric baking pans with electronic control boards, static electricity can damage delicate components. Using an anti-static wrist strap or grounding mat helps prevent electrostatic discharge that could compromise the Electric Baking Pan Wiring Harness or associated electronics. Grounding the appliance during maintenance ensures that any stray electrical charges are safely diverted, further enhancing safety during handling and repair.
Fuses and circuit protection devices should also be considered before beginning any work. Some electric baking pans may have integrated fuses or thermal protectors that need to be removed or bypassed temporarily during testing. Understanding their location and function ensures that these protective devices are not inadvertently damaged, which could compromise both the wiring harness and the overall safety of the appliance. Replacing or resetting these devices should only be done after verifying that all work has been completed correctly and safely.
Documentation and organization are also critical components of safety. Keeping a detailed record of wire connections, component locations, and any modifications ensures that the wiring harness can be correctly reassembled without errors. Labeling wires, taking photos, or sketching diagrams can prevent accidental miswiring, which could lead to electrical faults, appliance damage, or personal injury. Proper documentation also facilitates troubleshooting if issues arise after maintenance or replacement, allowing for safe and efficient resolution.
Finally, understanding the limitations of one’s own skills is a crucial safety precaution. Working on an Electric Baking Pan Wiring Harness can involve complex electrical systems that may require specialized knowledge. Attempting repairs without sufficient expertise can lead to mistakes that compromise both personal safety and appliance performance. Knowing when to seek professional assistance ensures that the work is completed safely, correctly, and in compliance with any relevant electrical codes or manufacturer guidelines.
Step-by-Step Guide to Removing the Old Electric Baking Pan Wiring Harness
Removing an old Electric Baking Pan Wiring Harness is a delicate task that requires careful attention to detail, proper tools, and adherence to safety protocols. The wiring harness is an essential component responsible for delivering electricity from the power source to the heating elements, thermostat, sensors, and other internal components of the electric baking pan. Improper removal can damage the harness, connectors, or the pan itself, leading to malfunction, electrical hazards, or long-term performance issues. This step-by-step guide provides a detailed approach to safely and effectively remove an old wiring harness.
The first step is to ensure that the electric baking pan is completely disconnected from power. Unplug the pan from the wall outlet and confirm that no residual current remains. Using a multimeter or voltage tester, check that all wires in the Electric Baking Pan Wiring Harness are de-energized. This verification is critical to prevent electric shock, which can occur if live wires are accidentally handled during the removal process. Even a pan that has been switched off may retain small amounts of electricity in capacitors or electronic control components, making this step essential for safety.
Next, it is important to prepare the workspace and gather necessary tools. The work area should be well-lit, clean, and free of moisture to avoid electrical hazards and accidental damage. Essential tools include screwdrivers, pliers, wire cutters, needle-nose pliers, a multimeter, and heat-resistant gloves. Insulated tools provide additional protection against accidental contact with live or residual electrical components. A non-conductive work surface, such as a rubber mat or wooden table, helps prevent shorts and protects both the Electric Baking Pan Wiring Harness and the pan itself from physical damage during disassembly.
Once the workspace and tools are ready, begin by removing the outer casing or panels of the electric baking pan to access the internal wiring harness. Most pans have screws securing the housing or cover, which may require flathead or Phillips screwdrivers for removal. It is important to keep track of all screws and small components during disassembly, as misplacing them can complicate reassembly later. Using a small container or magnetic tray to store screws and fasteners can help maintain organization and prevent loss. The removed panels may expose the cast iron surfaces or heating elements, so wearing heat-resistant gloves during this step ensures protection from residual heat or sharp edges.
After accessing the internal components, identify the routing and attachment points of the Electric Baking Pan Wiring Harness. Most harnesses are secured using zip ties, clips, or screws, and they follow a specific path to connect power to the heating elements, thermostat, control board, and sensors. Carefully note the layout, either by taking photos or sketching a diagram. Proper documentation is critical to ensure correct reinstallation or replacement. Misrouting the wires can lead to mechanical stress, short circuits, or poor electrical contact, reducing the performance and safety of the pan.
The next step is disconnecting the connectors and terminals attached to the wiring harness. Begin by locating the connection points at the heating element, thermostat, and control board. Using needle-nose pliers or a connector extraction tool, gently disengage the connectors without pulling on the wires themselves. Excessive force can damage the connectors, terminals, or wires, making the harness unusable. Inspect each connection as it is removed for signs of corrosion, melted insulation, or loose terminals, which may indicate the need for additional repairs or replacement components. Keeping the wires organized and labeling them ensures that each connection can be correctly reattached later.
Cutting or removing zip ties and cable management components is another critical part of removing the harness. Zip ties, clips, or braided sleeves hold the wiring harness in place and prevent movement that could cause wear or damage. Using diagonal cutters or wire cutters, carefully cut the ties without nicking or damaging the wires beneath. If the harness uses a braided sleeve, carefully slide it off the wires to expose the connectors and terminals. Proper handling of these management components preserves the integrity of the wires and prevents unnecessary damage during removal.
For wiring harnesses with integrated fuses, thermal protectors, or sensors, additional caution is required. Some fuses may be soldered or mounted in protective holders. Using appropriate tools such as screwdrivers, pliers, or soldering equipment, carefully remove these components while avoiding damage to the wire ends. Sensors, particularly thermocouples or temperature probes, must be detached carefully to avoid bending or breaking the sensing element. Each removed component should be stored safely, with clear labeling to ensure proper replacement or reinstallation in the new harness.
Once the connectors, terminals, cable management, and auxiliary components are removed, begin freeing the wires from their mounting points. Many wiring harnesses are routed along metal or plastic guides to prevent movement and abrasion. Carefully lift the wires from these guides, avoiding sharp bends or excessive tension that could damage the internal conductors. Pay attention to areas where wires pass near cast iron surfaces or heating elements, as these locations are prone to insulation wear over time. Using insulated pliers or a gentle hand, guide the wires out of the routing channels without disturbing the surrounding components.
After detaching the wiring harness from all electrical and mechanical attachment points, the final step is to remove the harness from the pan entirely. Gently lift the Electric Baking Pan Wiring Harness out of the appliance, ensuring that no wires remain trapped or snagged on screws, brackets, or other internal structures. Inspect the removed harness for visible signs of damage, such as melted insulation, exposed conductors, frayed wires, or corroded connectors. Documenting these defects can guide the selection of a replacement harness and highlight potential installation or maintenance practices that could prevent similar issues in the future.
During the entire removal process, continuous attention to safety precautions is essential. Wearing PPE, verifying that the appliance is de-energized, using insulated tools, and maintaining a clear workspace are all critical steps that prevent personal injury and preserve the integrity of the Electric Baking Pan Wiring Harness. Following a systematic approach ensures that the old harness can be removed without causing additional damage to the pan or surrounding components, creating an optimal starting point for installation of a new wiring harness.
Properly removing the old harness also sets the stage for diagnostic testing or refurbishment. Inspecting each wire, terminal, and connector for wear or failure provides valuable insight into the pan's electrical performance. If certain wires or connectors show signs of repeated stress or heat damage, these areas can be addressed in the replacement harness or by implementing additional strain relief or insulation measures. A methodical approach to harness removal not only ensures safety but also contributes to the long-term reliability and efficiency of the appliance.
The removal process may vary slightly depending on the model and construction of the electric baking pan. Some advanced models may feature integrated control boards, multiple sensors, or modular wiring sections that require additional steps for disassembly. Regardless of the complexity, the same principles apply: verify power disconnection, document the wiring layout, handle wires and connectors carefully, and use appropriate tools for each task. By adhering to these procedures, the old Electric Baking Pan Wiring Harness can be safely and effectively removed, preparing the appliance for repair, replacement, or maintenance with confidence and precision.


Inspecting and Testing the Electric Baking Pan Wiring Harness for Damage
After removing an Electric Baking Pan Wiring Harness, the next critical step is to thoroughly inspect and test it for damage. This process is essential for identifying any potential faults that could compromise the safety, efficiency, or longevity of the appliance. A damaged wiring harness can lead to uneven heating, intermittent operation, electrical shorts, or even fire hazards. Therefore, understanding how to systematically inspect and test the harness ensures that the appliance functions reliably and safely when reassembled or replaced.
The first step in inspecting the Electric Baking Pan Wiring Harness is a visual examination. Carefully lay out the harness on a clean, well-lit, non-conductive surface. Begin by examining the insulation of each wire for cracks, fraying, or discoloration. Discoloration, particularly browning or blackening, can indicate overheating at some point in the harness's life. Frayed insulation exposes the conductor and increases the risk of short circuits, electric shock, or fire. Pay particular attention to areas near the heating elements, cast iron surfaces, or sharp edges of the pan, as these are common locations for insulation wear due to heat and mechanical abrasion.
Next, inspect the connectors and terminals. Look for signs of corrosion, rust, or melted plastic. Corroded terminals can prevent proper electrical contact, increasing resistance and leading to overheating during operation. Melted or deformed connectors often indicate previous electrical faults or excessive current flow. Ensure that each connector maintains its structural integrity, with no loose or broken parts. Terminal pins should be straight and free from oxidation, and the metal surfaces should be clean and shiny. Any damaged connectors may require replacement or refurbishment to ensure a safe and secure connection when the harness is reinstalled.
Another crucial aspect of inspection is checking for mechanical stress or fatigue in the wires. Over time, repeated bending or pulling can weaken the internal conductors, even if the insulation appears intact. Gently flex each wire along its length and observe for any unusual stiffness, cracking, or snapping sounds. These signs may indicate internal breaks that are not visible externally. Wires that show signs of mechanical fatigue should be replaced rather than reused to prevent intermittent electrical failures during operation.
After completing the visual inspection, the next phase involves electrical testing of the Electric Baking Pan Wiring Harness. One of the most important tests is checking continuity. Using a multimeter set to the continuity mode, place the probes at each end of a wire or circuit path. A continuous path without interruption confirms that the wire is intact. If the multimeter does not indicate continuity, the wire has a break or internal damage and must be repaired or replaced. Testing each wire individually ensures that every electrical path within the harness is functioning correctly and reduces the risk of failure when the pan is powered on.
Resistance testing is another key procedure. Using a digital multimeter set to the appropriate resistance range, measure the resistance of each wire and connection. Ideally, each wire should have minimal resistance, reflecting good electrical conductivity. Excessive resistance may indicate corrosion, poor connections, or damaged conductors. Resistance testing also applies to integrated components such as fuses or thermal protectors within the harness. A fuse that shows infinite resistance indicates that it has blown, while a thermal protector that fails to conduct at normal conditions may be defective. Identifying these faults ensures that the harness operates safely under load.
For wiring harnesses that include sensors, thermocouples, or electronic control connections, specialized testing may be required. Temperature sensors should be checked for continuity and proper resistance response according to manufacturer specifications. Any deviation from the expected values suggests a malfunctioning sensor, which can lead to inaccurate temperature readings and uneven cooking performance. Control board connectors should be examined for secure attachment, and the wiring leading to these boards should be tested for continuity and proper signal transmission. Faulty sensor wiring can compromise the functionality of the Electric Baking Pan Wiring Harness and lead to appliance failure.
Flex testing is an additional inspection method that helps detect intermittent faults caused by internal wire breaks or fatigued insulation. While monitoring continuity or resistance with a multimeter, gently bend and move the wires along their length. If the readings fluctuate or momentarily lose continuity, it indicates a broken conductor inside the insulation. Flex testing is especially important near points where wires bend around connectors or pass through tight channels in the pan housing. Identifying and correcting these faults prevents future intermittent issues that can be difficult to diagnose after reinstallation.
Thermal inspection can provide insights into areas of the wiring harness that may have previously experienced overheating. Using a thermal camera or infrared thermometer, examine the wiring harness while it is still connected in its original position (if safe to power briefly) or after removal. Hot spots, discoloration, or melted insulation suggest that the wire or connector has been subjected to excessive current or poor contact. These areas should be replaced or reinforced to prevent recurring problems when a new harness is installed. It is critical to ensure that all testing is conducted safely, avoiding live contact with wires unless proper insulation and tools are used.
Mechanical stress points, such as areas where the harness was secured with zip ties or routed near cast iron surfaces, should be carefully examined. Look for signs of abrasion, cut insulation, or flattened wires that may indicate previous strain. Reinforcing these points during reinstallation with protective sleeves, proper routing, or additional strain relief ensures that the new or inspected harness will have a longer operational life. Neglecting these stress points can lead to premature failure of the wiring harness, even if the wires themselves appear undamaged.
Documentation of findings is an essential part of the inspection and testing process. Record the condition of each wire, terminal, connector, and sensor, noting any damage, discoloration, corrosion, or electrical faults. This documentation guides the selection of replacement components and ensures that repairs are comprehensive. Clear labeling of wires and connectors during inspection helps prevent confusion during reinstallation, reducing the risk of miswiring or improper connections, which can compromise the performance of the Electric Baking Pan Wiring Harness.
Preventive measures should also be considered during inspection. If any component shows minor wear but is not yet failed, it may be beneficial to preemptively replace it to avoid future issues. This approach ensures the long-term reliability and safety of the appliance. Protective measures, such as adding heat-resistant sleeves or extra insulation around vulnerable wires, can prevent damage from heat or mechanical stress during normal operation. Maintaining these preventive practices during inspection directly contributes to the extended lifespan of the wiring harness.
Finally, understanding the importance of thorough inspection cannot be overstated. A comprehensive examination of the Electric Baking Pan Wiring Harness ensures that all wires, connectors, terminals, sensors, fuses, and protective devices are functioning correctly and safely. Any overlooked fault, whether minor or major, can result in operational inefficiencies, electrical hazards, or appliance damage. By systematically inspecting and testing each component, technicians or DIY users can confidently proceed with either reinstallation or replacement, knowing that the harness will perform reliably under the thermal and electrical stresses of regular use.


 中文简体
中文简体