+86-0574-63316601


 中文简体
中文简体Content
- 1 What a Wiring Diagram Actually Shows
- 2 Gather the Right Tools and Information First
- 3 How to Draw a Wiring Diagram, Step by Step
- 4 Common Symbols You Will Use Again and Again
- 5 Habits That Keep a Diagram Clean and Readable
- 6 From Your Drawing to a Manufactured Wiring Harness
- 7 Do Not Overlook Temperature Sensing
- 8 The Same Discipline Scales to Any Appliance
- 9 Common Mistakes to Avoid
Every dependable home appliance begins life as a drawing long before the first wire is cut. Inside an air fryer, a kettle, or a washing machine, dozens of connections link the power cord, the control board, the heating element, and the sensors that keep temperature in check. A wiring diagram is the map of those connections, and knowing how to draw one well pays off in clearer communication, faster troubleshooting, and safer products.
As a wire harness manufacturer, our team reads customer diagrams every single day. The neat, complete drawings move through production with few questions; the vague ones cost everyone time. Here is the step-by-step process we recommend, whether you are documenting an existing appliance or planning a brand-new design.
What a Wiring Diagram Actually Shows
Before sketching, it helps to know what separates a wiring diagram from its close cousins. A schematic shows how a circuit works electrically, using abstract symbols with no concern for physical layout. A pictorial diagram looks like a simplified photo of the parts, handy for beginners but clumsy for anything complex. A wiring diagram sits in the practical middle: it shows real connections, wire colors, and terminal numbers that a technician or a production line can follow.
For appliances, a useful diagram covers the live, neutral, and earth paths from the power inlet, the switching and control stage, the load (a heating element, motor, or pump), and any protective devices such as thermal fuses or temperature sensors.
Gather the Right Tools and Information First
Drawing a wiring diagram is mostly preparation. Before you sketch a single line, collect:
- A component list with the rated voltage, current, and power of every part.
- Wire specifications: gauge, insulation temperature rating, and the color code you will follow.
- Connector and terminal types, including pin counts where available.
- Datasheets for switches, thermostats, sensors, and control boards, so each pin's function is clear.
Then choose your medium. Pencil, ruler, and grid paper are perfectly fine for a first draft. When the drawing must be shared or revised, any 2D CAD or diagramming software will do; what matters is a symbol library, straight lines, and clean PDF export. Pick whatever lets you edit quickly, because a wiring diagram is a living document that almost always changes during development.
How to Draw a Wiring Diagram, Step by Step
Step 1: Define the scope and list every component
Decide whether the diagram covers the whole appliance, one functional module, or a replacement harness. Then give every part a reference label, such as SW1 for a switch, T1 for a thermostat, or EH1 for a heating element, so numbering stays consistent as the drawing grows.
Step 2: Lay out the power path first
Start at the power inlet and draw the live, neutral, and earth lines toward the load. Keeping the power flow left to right, or top to bottom, makes the drawing readable to anyone who picks it up. Place fuses and thermal cut-offs where they sit in the real circuit, not where they merely look tidy.
Step 3: Draw the wires and label everything
Connect components with straight lines and add the details production teams depend on: wire color, gauge, and insulation notes. Label each end of every wire with its terminal number. Where lines cross without connecting, show one hopping over the other, and add a solid connection dot only where a junction is real. Ambiguity here causes real-world miswiring.
Step 4: Add sensors and control devices
Thermostats, thermistors, and control boards usually sit between the power stage and the load. Draw them with their proper symbols and note which pins handle sensing and which carry load current.
Step 5: Review, check, and version the drawing
Trace every connection with a finger, compare it against the schematic, and confirm that each wire has both a source and a destination. Then add a title block with the project name, drawing number, date, and revision, so nobody ever works from a stale sheet.
Common Symbols You Will Use Again and Again
A small vocabulary of symbols covers most appliance wiring. The ones below appear again and again in the kitchen and environmental appliance drawings we receive from customers.
| Symbol | What It Represents | Typical Appliance Use |
|---|---|---|
| Straight line | A conductor or wire | All interconnections |
| Solid dot at a crossing | A connected junction | Branching power feeds |
| Unmarked crossing | Wires that cross but do not connect | Dense routing areas |
| Zigzag line | A resistive element | Heating elements in ovens and heaters |
| Circle marked M | A motor | Fans, pumps, and drives |
| Broken line with a lever | A switch | Power and function switches |
| Zigzag with a diagonal line and the letter t | A thermistor such as an NTC sensor | Temperature sensing and protection |
| Three shrinking horizontal bars | Earth or ground | Chassis and earthing points |
Keep a legend on the page even for familiar symbols. A drawing should be readable by someone who has never seen your work before, because one day it will be.
Habits That Keep a Diagram Clean and Readable
The clearest diagrams we see share the same habits:
- A consistent flow direction, usually power on the left and load on the right.
- Wire colors that follow a documented code rather than personal preference.
- Every wire labeled with both gauge and terminal numbers.
- Generous spacing, so printed lines never blur together.
None of this takes much extra time, yet together it turns a personal sketch into a document the whole supply chain can use.
From Your Drawing to a Manufactured Wiring Harness
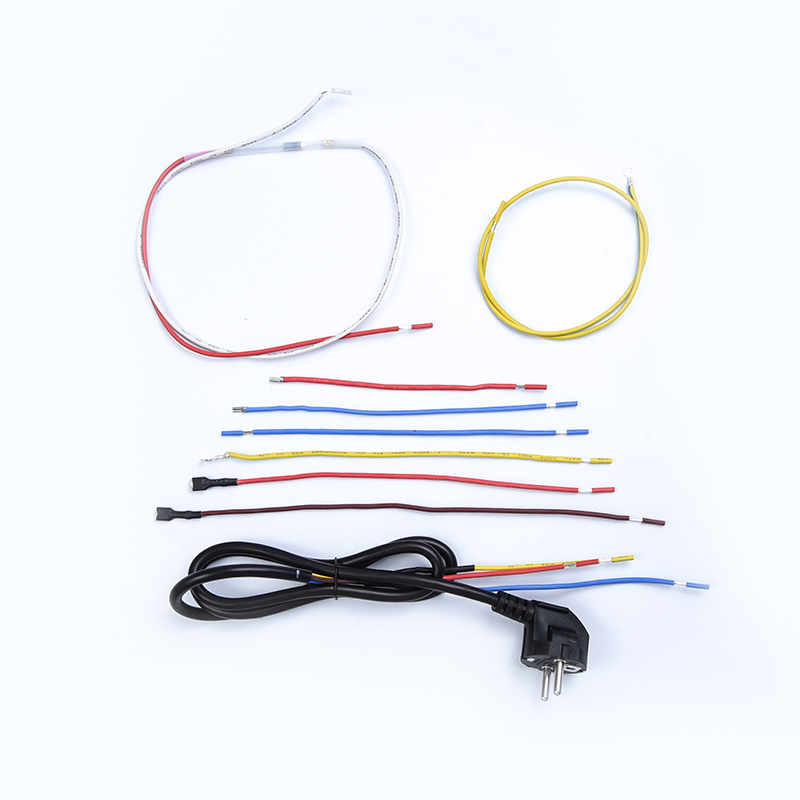
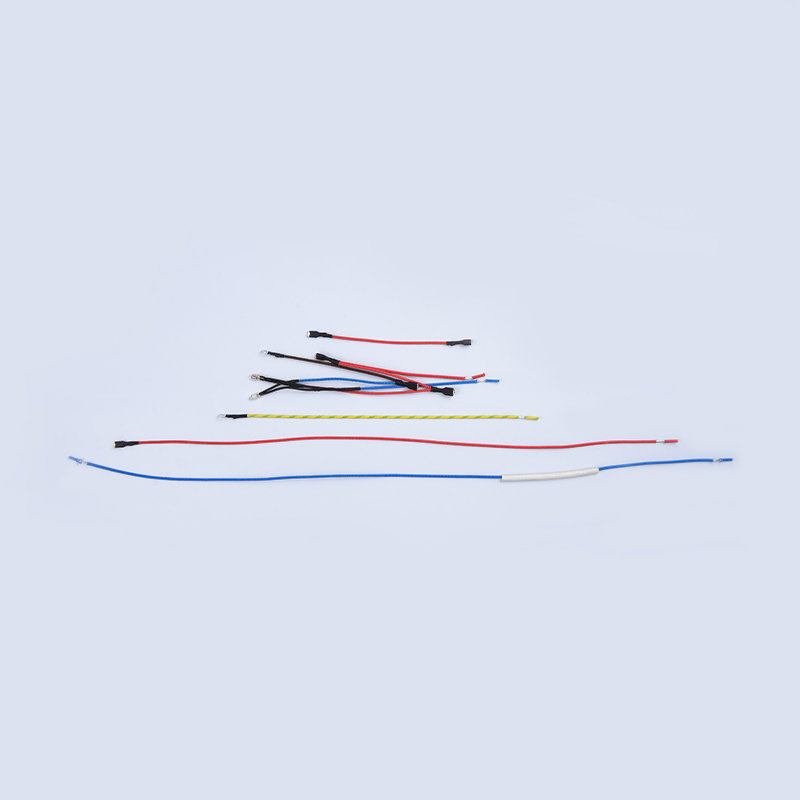
Once a diagram is approved, it becomes the backbone of manufacturing. Wire cut lists, connector assignments, and assembly boards are all derived from it, and a tidy drawing translates directly into a harness that assembles correctly the first time. Instead of routing loose wires one by one, the connections in your drawing are bundled into a finished loom with sleeves, branches, and connectors, which is faster to install and far more reliable in service. To see what happens downstream of the drawing stage, read our guide to what a wiring harness does across different appliance types.
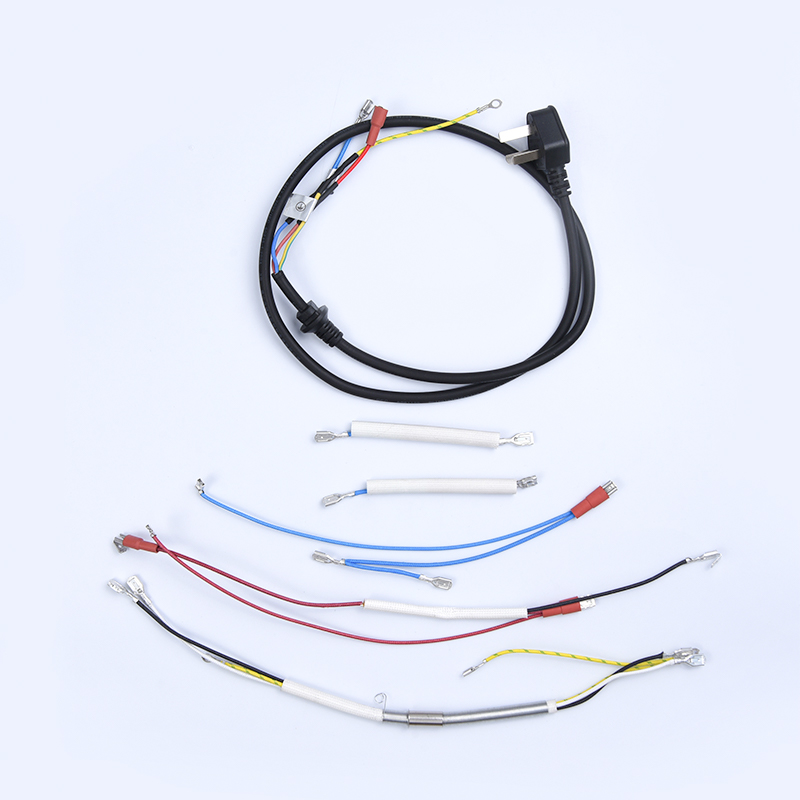
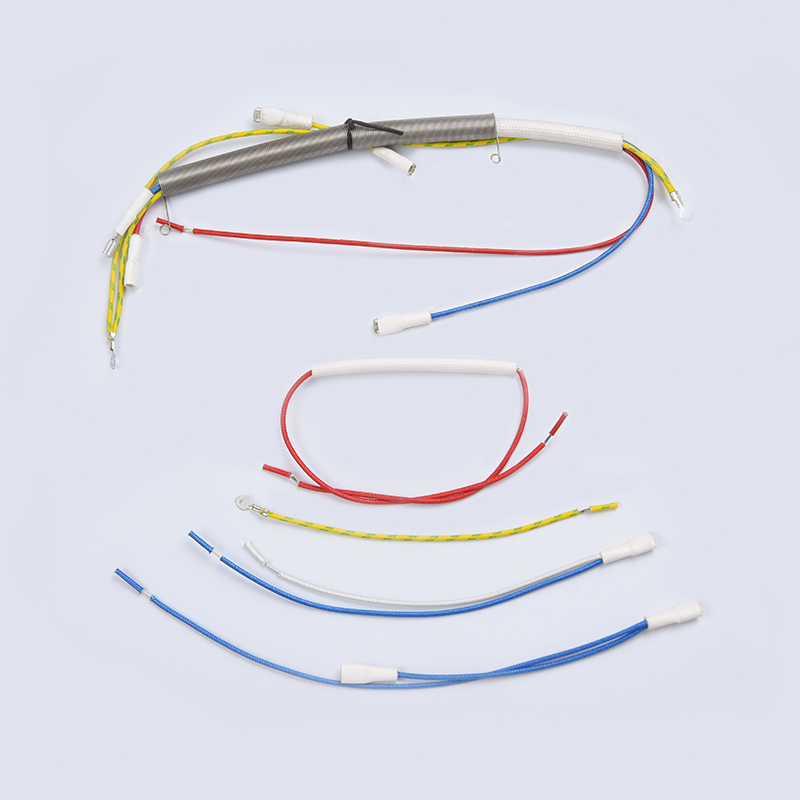
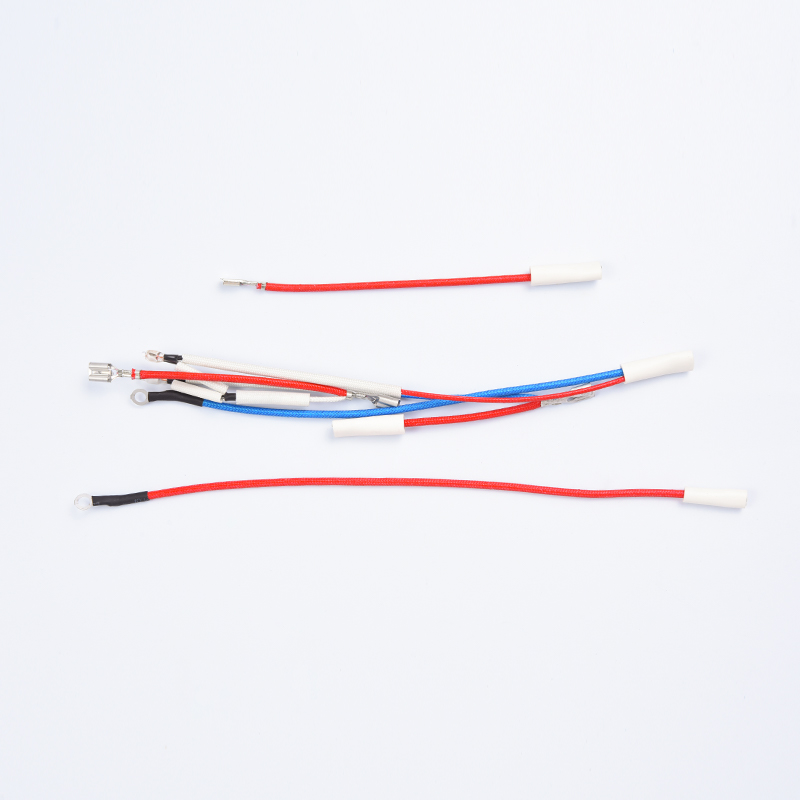
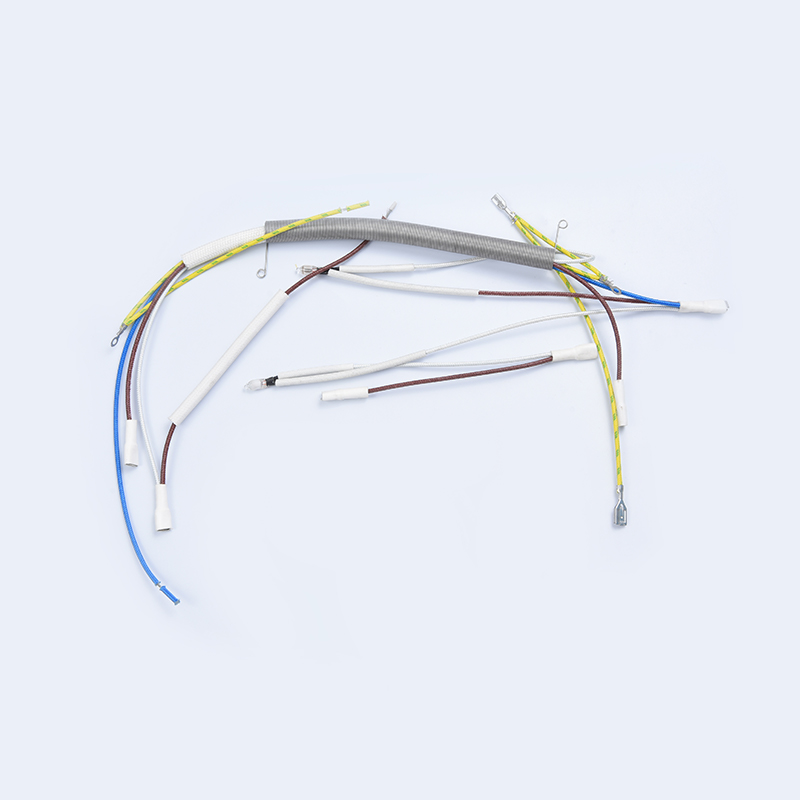
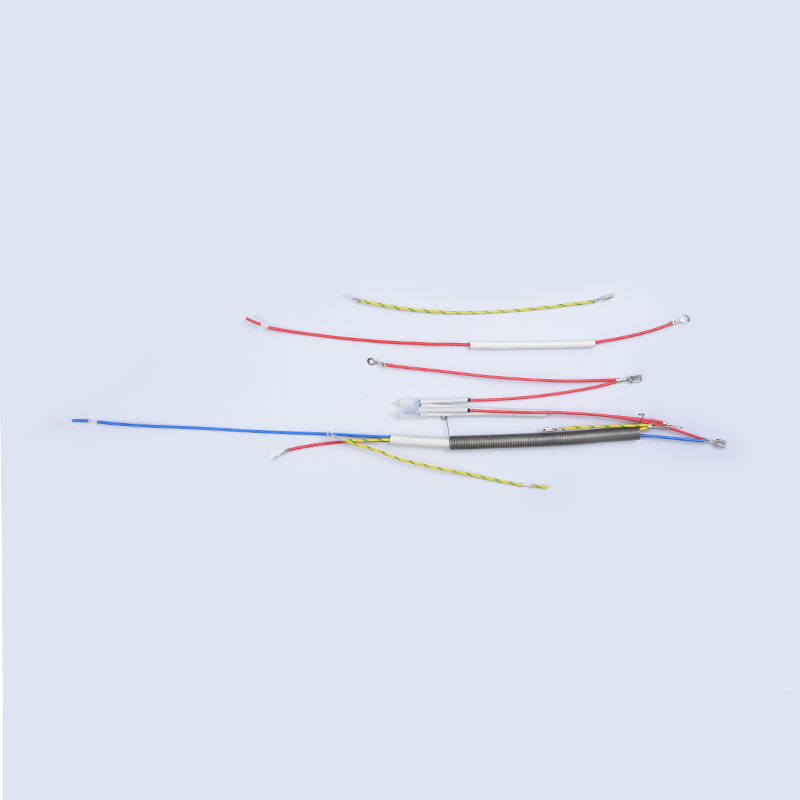
Our own production follows this exact path. For cooking products, a customer drawing defines every branch before we build the finished kitchen appliance wiring harness that links the control panel, heating elements, and safety devices inside the appliance.
 Kitchen Appliance Wiring Harness ManufacturersCixi Tengyu Electric Appliance Co., Ltd.View Product →
Do Not Overlook Temperature Sensing
Most heating appliances are only as safe as their temperature feedback. On your diagram, the NTC thermistor that monitors an air fryer, kettle, or oven is a small component with a big job: it tells the control board when to cut power and when the element can keep running. Mark its position, connector, and expected resistance range clearly, so the harness and the sensor can be matched correctly in production.
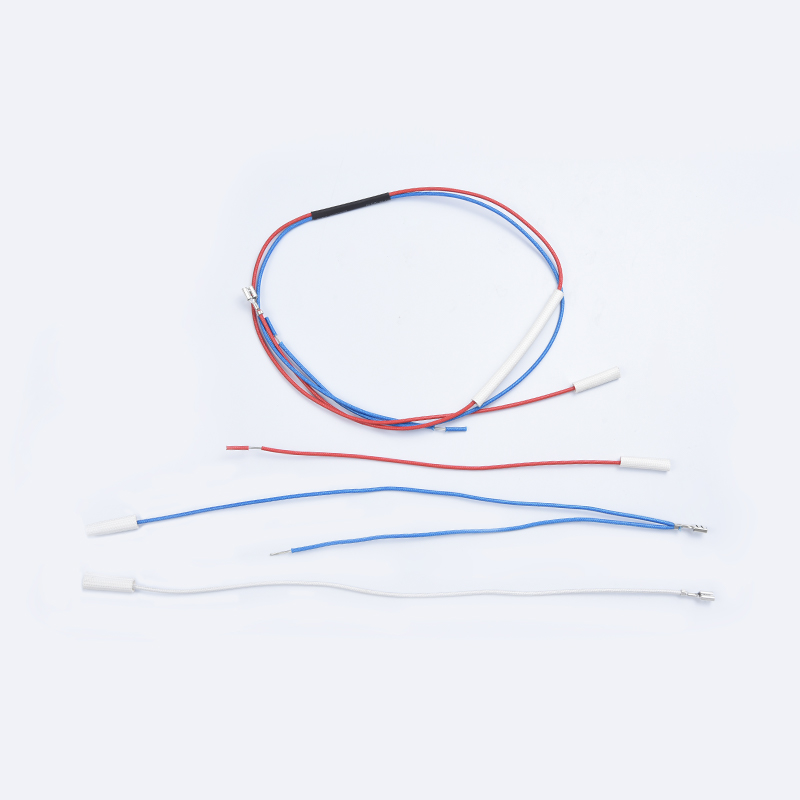
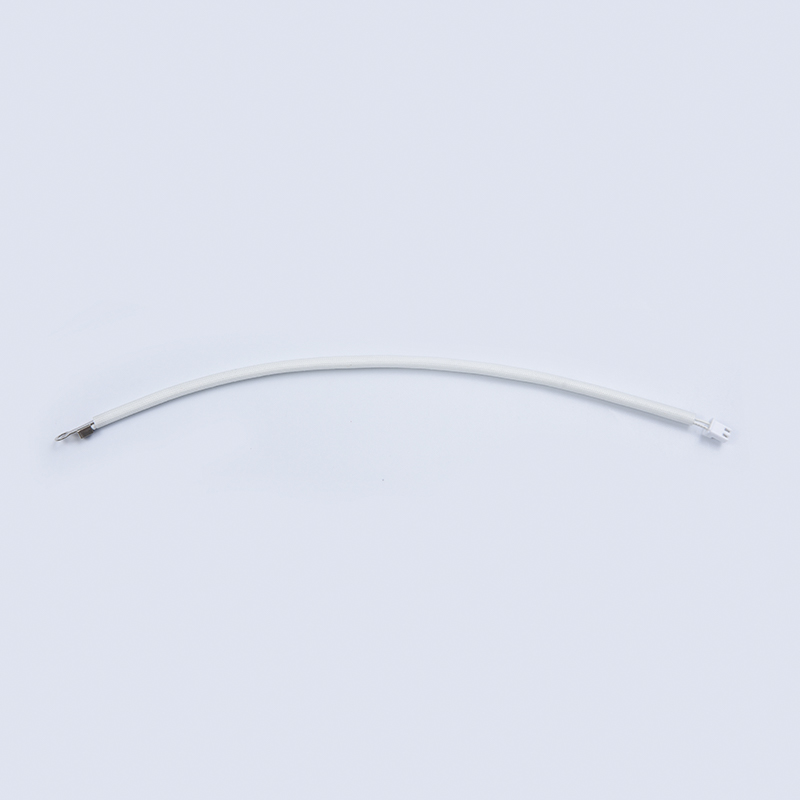 NTC Temperature Sensor ManufacturersCixi Tengyu Electric Appliance Co., Ltd.View Product →
The Same Discipline Scales to Any Appliance
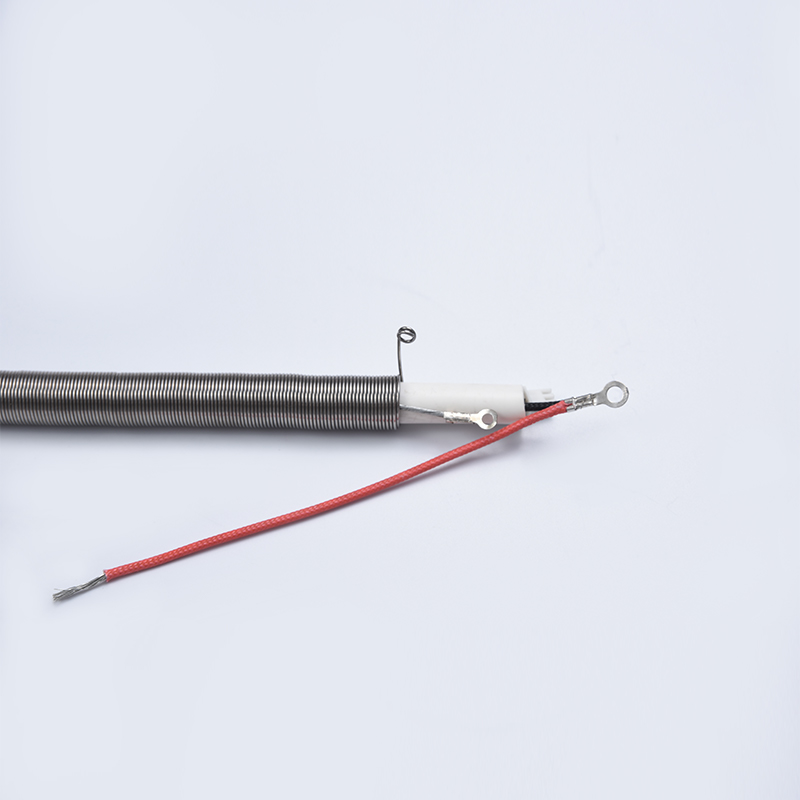
This method applies well beyond the kitchen. Heaters, irons, washing machines, and water purifiers all start as drawings, and what changes is the environment the harness must survive. Moisture, heat, vibration, and continuous duty shape the wire and connector choices you note on the page, and our environmental electrical wiring harness range covers many of these demanding applications.
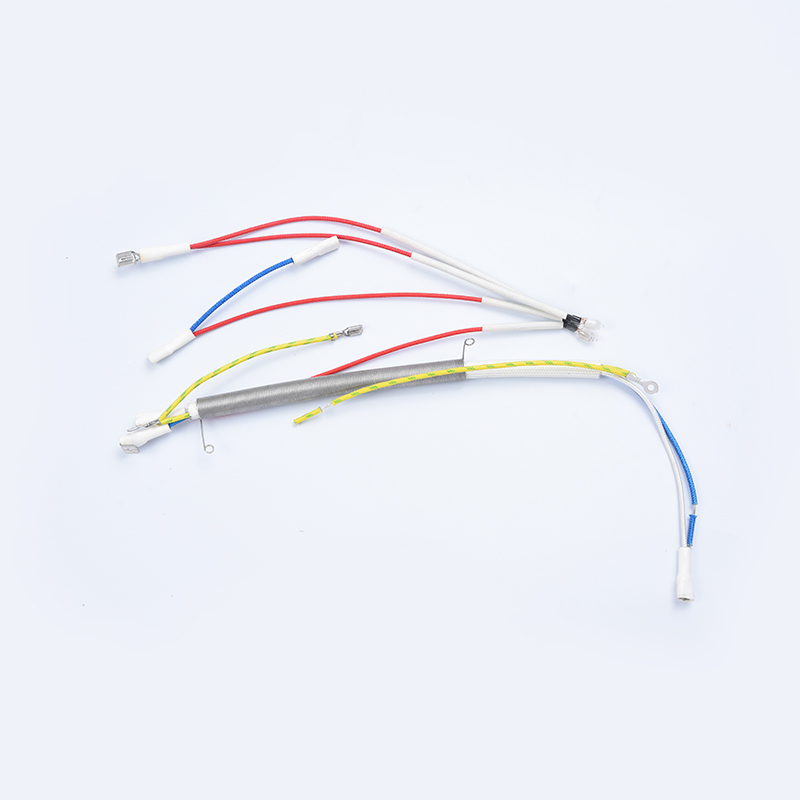
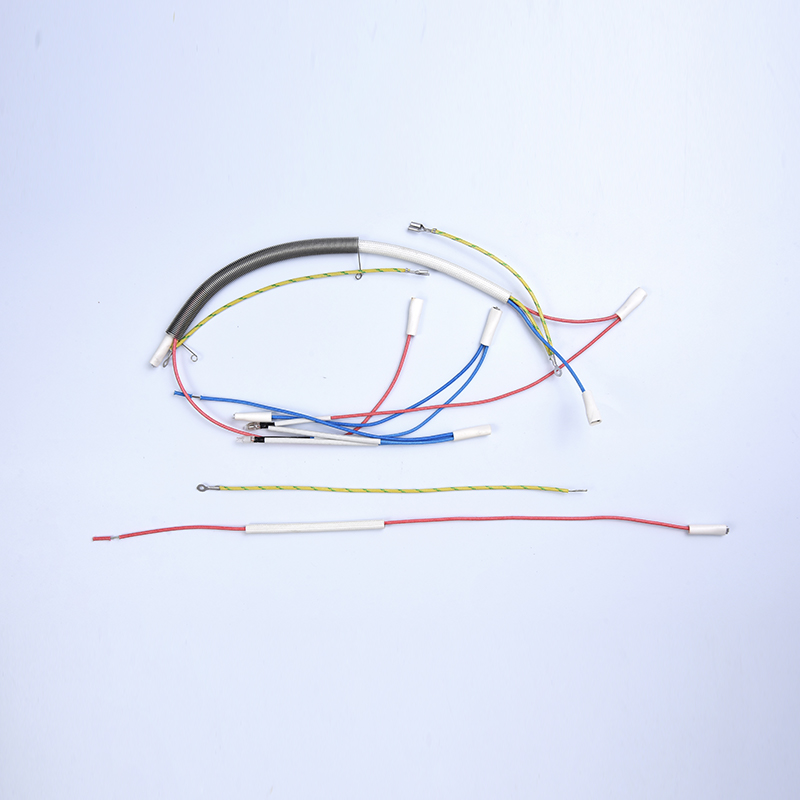
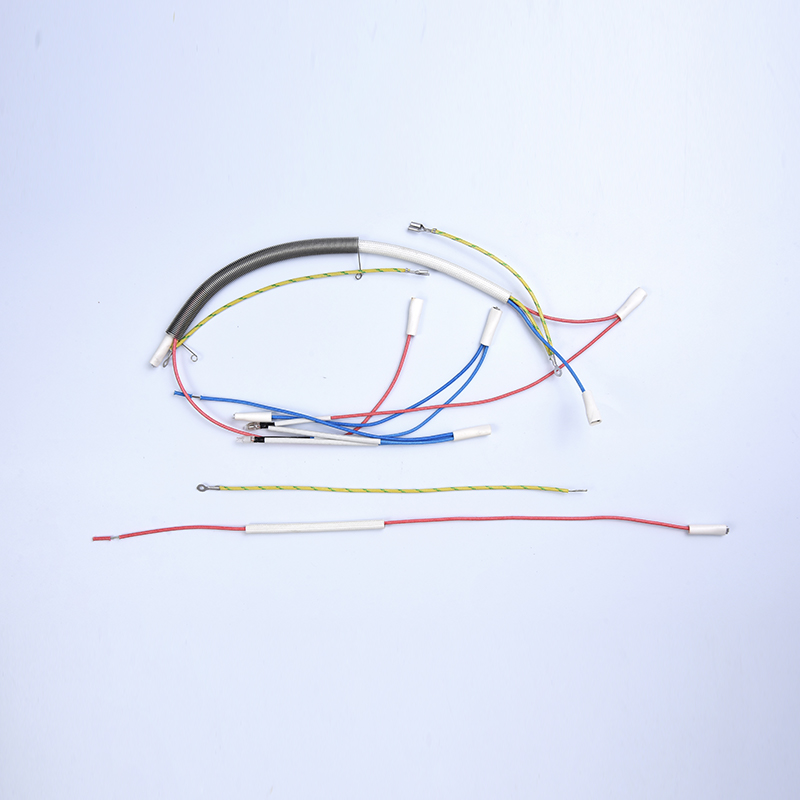
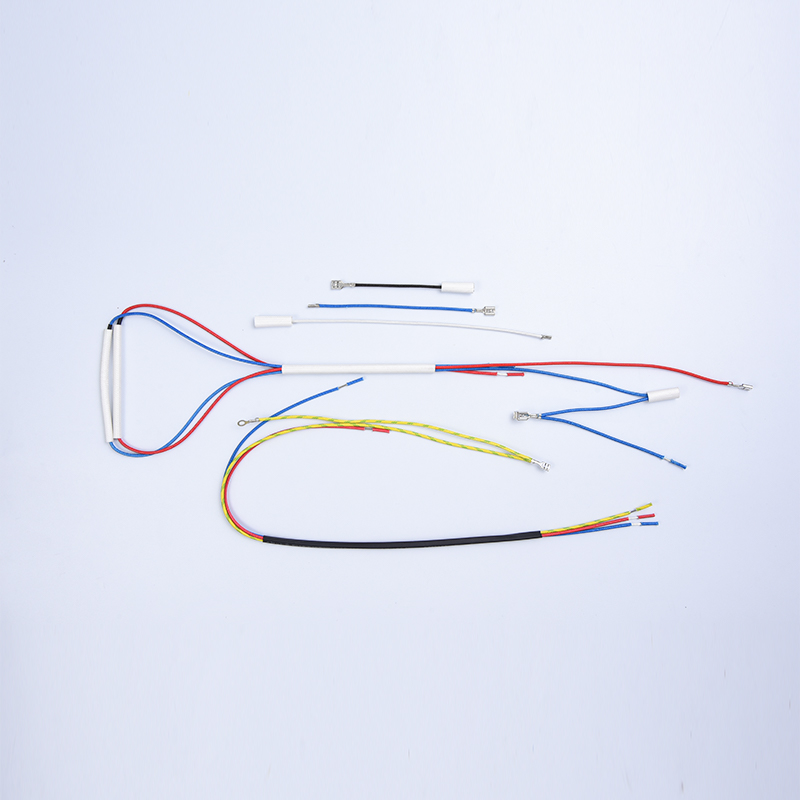 Environmental Electrical Wiring HarnessDesigned for appliances like heaters, irons, washing machines, and water purifiers, these harnesses use wire and connector choices shaped by moisture, heat, vibration, and continuous duty requirements.View Product →
Common Mistakes to Avoid
Finally, here are the errors we most often have to query before a drawing can go into production:
- Wires left unlabeled, which forces guesswork at the assembly bench.
- Gauge and current ratings ignored, especially around heating elements.
- Schematic logic and physical routing mixed on one sheet without separation.
- The earth path omitted or drawn as an afterthought.
- Drawings sent without a revision number, so nobody knows which version is current.
Drawing a wiring diagram is less about artistic talent than about discipline: list your components, follow the power path, label everything, and check your work against the real circuit. Do that consistently, and your drawings will be welcomed by technicians, auditors, and manufacturing partners alike. If you have a diagram ready and need it turned into a dependable production harness, our team is always glad to review it and provide a quote.