+86-0574-63316601


 中文简体
中文简体Content
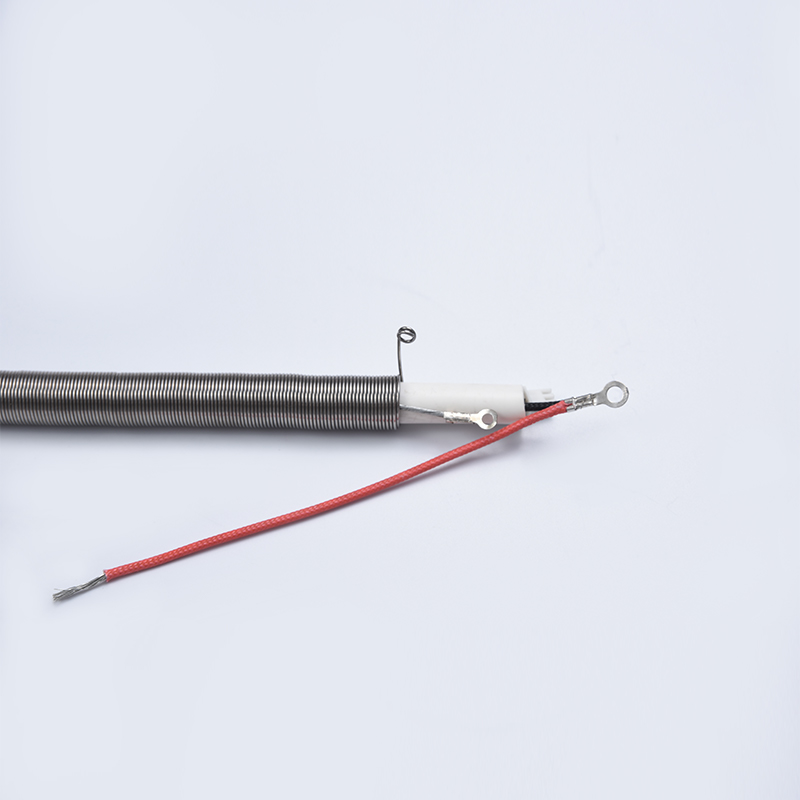
You are repairing an air fryer that stopped heating. After opening the casing, you find a loose terminal where the wiring harness connects to the heating element. The fix seems simple—re-crimp the wire and replace the terminal. But one wrong move can create a high-resistance joint that overheats or fails within weeks. That is why how to crimp wire is not just a DIY skill; it is a quality-critical process that separates reliable electrical connections from safety hazards. A properly crimped joint provides mechanical strength and low electrical resistance, ensuring the circuit performs as intended under load and over time.
Understanding the Basics of Wire Crimping
Crimping is a cold-forming process where a metal terminal is compressed around a stripped wire to create a gas-tight, conductive joint. Unlike soldering, which introduces a third material, crimping relies on plastic deformation of both the terminal barrel and the wire strands. The result is a connection that resists vibration, temperature cycling, and corrosion—exactly what is needed in appliances that heat, cool, or move.
The tools you choose matter. Ratcheting crimpers deliver consistent force and prevent under- or over-compression. Non-ratcheting pliers are cheaper but require a steady hand and a feel for the right pressure. For home appliance repair, a ratcheting tool designed for insulated or uninsulated terminals is a worthy investment. Terminal types also vary: ring, spade, butt splice, and quick-disconnect are common in wiring harness work. Always select a terminal that matches both the wire gauge (e.g., 18 AWG) and the application's current rating.
Step-by-Step Crimping Process
1. Strip the Wire to the Correct Length
Measure the barrel depth of the terminal. Strip just enough insulation so that the bare conductor fills the barrel completely but leaves no exposed wire beyond the end. Most terminals require 6 to 8 mm of stripped length. Use a self-adjusting stripper to avoid nicking strands.
2. Insert the Wire into the Terminal Barrel
Twist the strands lightly to keep them together. Insert the wire into the barrel until the insulation meets the edge of the barrel. The conductor must bottom out inside the terminal. For closed-barrel terminals, ensure all strands enter cleanly without bending back.
3. Crimp Using the Proper Die
Place the terminal in the crimper die. Squeeze until the ratchet releases (if using a ratcheting tool) or until you feel solid resistance. Do not double-crimp; one full compression is sufficient. The die should match the terminal's shape—usually you have separate positions for the conductor barrel and the insulation support.
4. Pull-Test Each Connection
Gently tug on the wire to verify the terminal holds fast. A good crimp will break the wire before pulling out of the barrel. If the terminal slides off, strip more insulation or use a larger die. Never rely on visual inspection alone; a pull test is the simplest field check.
Common Mistakes and How to Avoid Them
- Overcrimping: Too much pressure fractures strands or deforms the terminal shape, increasing resistance. Use a tool with a stop or ratchet.
- Undercrimping: Insufficient deformation leaves gaps that invite moisture and create intermittent connections. Apply full tool closure.
- Wrong strip length: Exposed conductor past the barrel risks short circuits; too little wire leaves part of the barrel empty, weakening grip. Measure twice.
- Mismatched gauge: A terminal designed for 14 AWG will not compress properly on 18 AWG wire. Always check the terminal's marking.
- Insulation under the conductor barrel: If insulation is trapped in the metal grip zone, electrical contact is lost. Ensure bare wire is the only material in the crimp barrel.
Why Proper Crimping Matters for Home Appliances
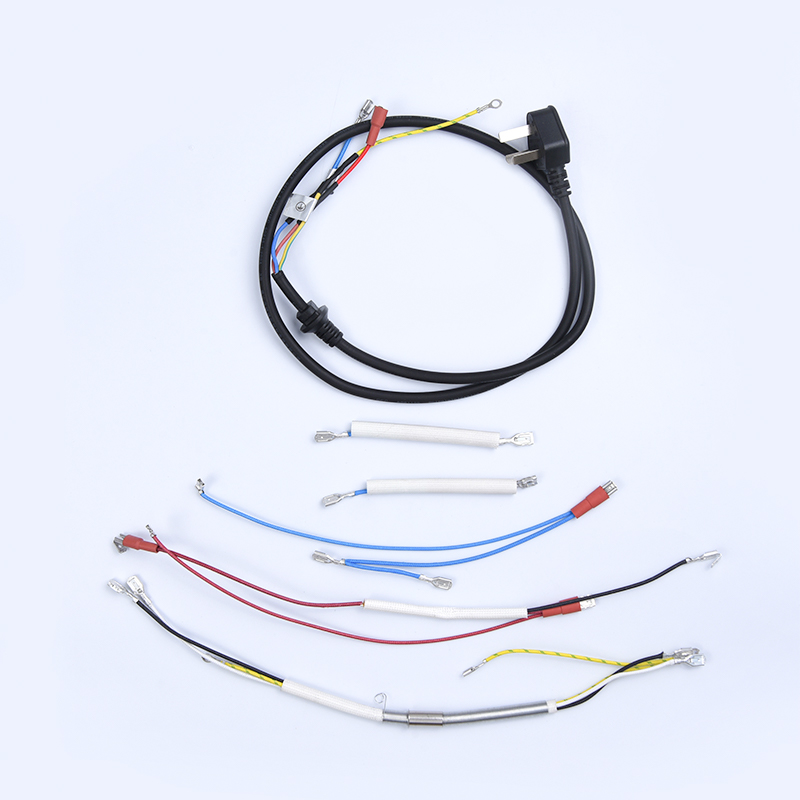
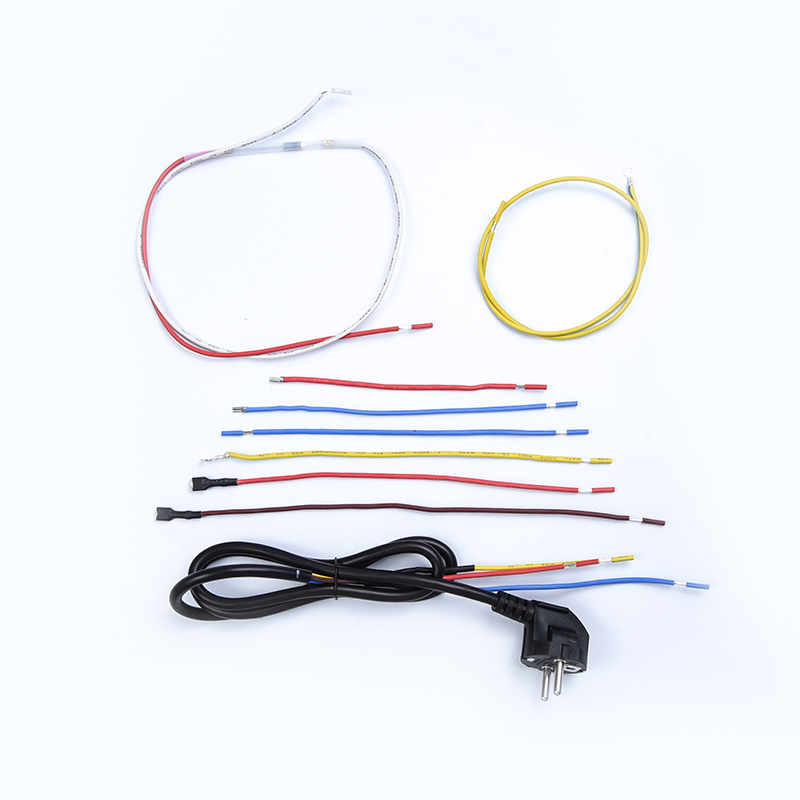
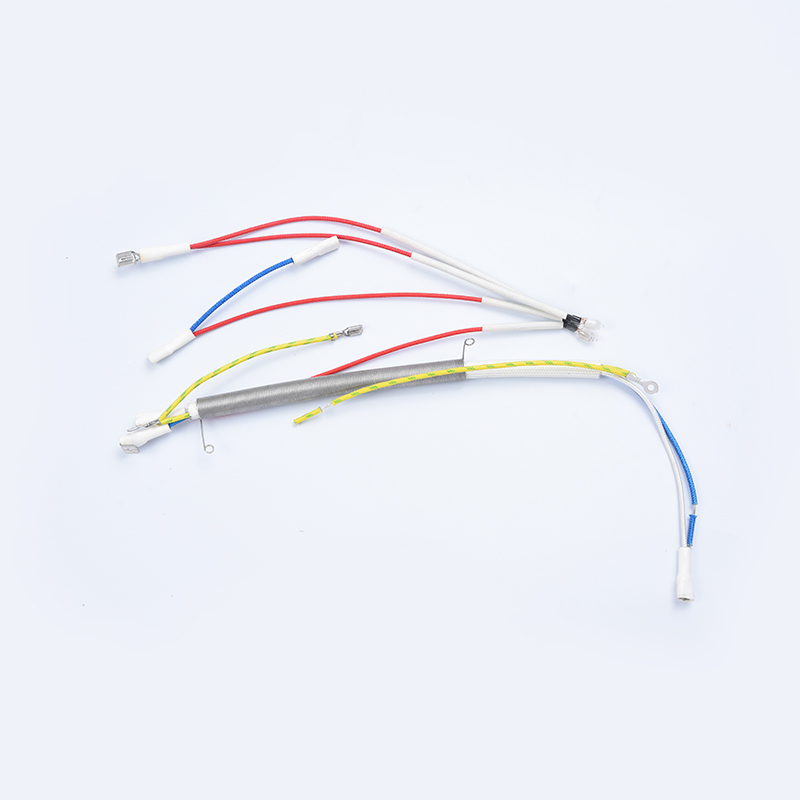
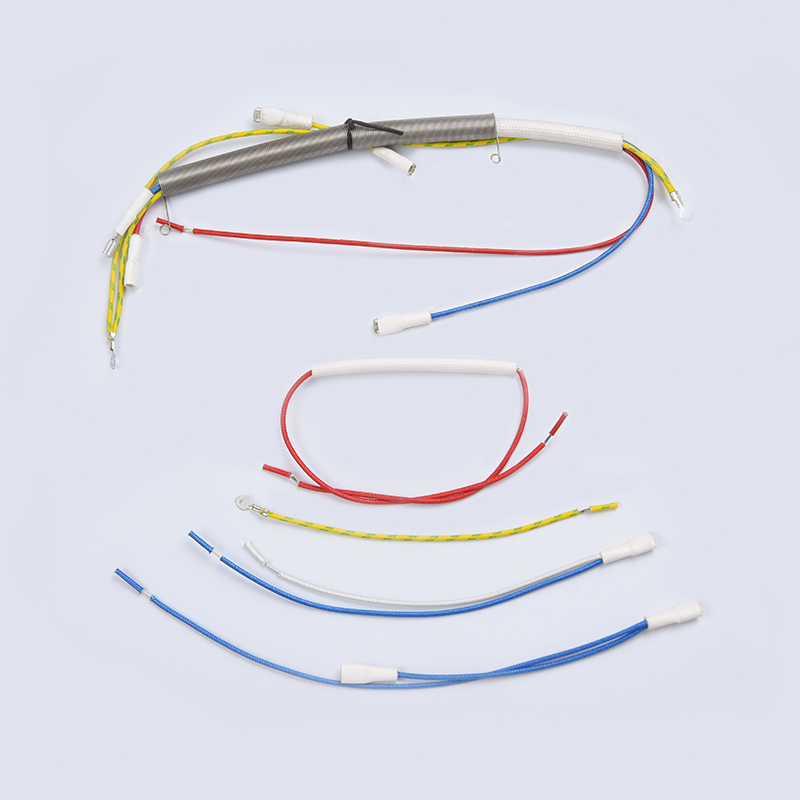
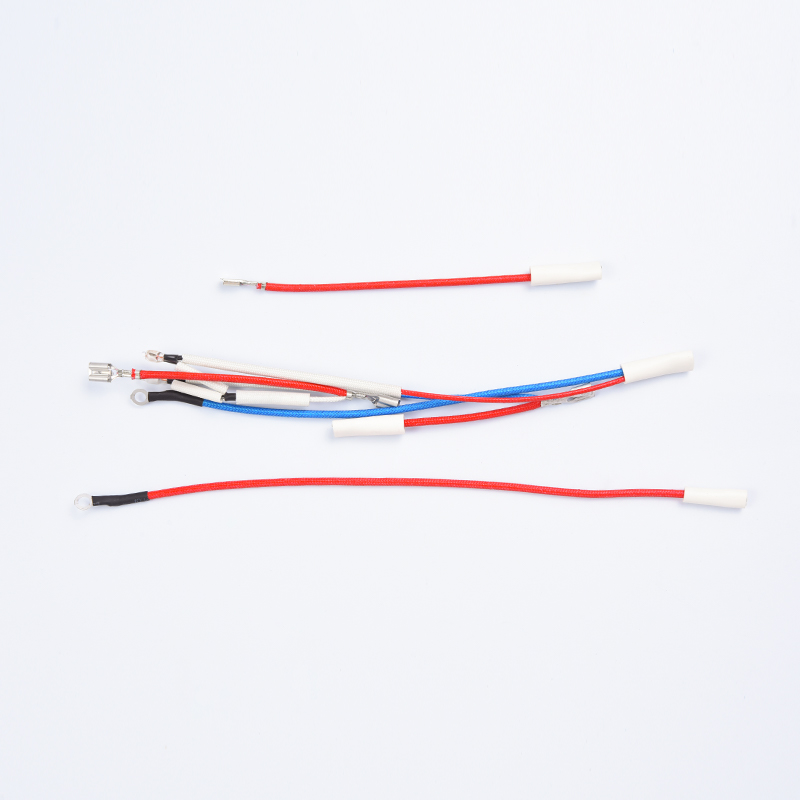
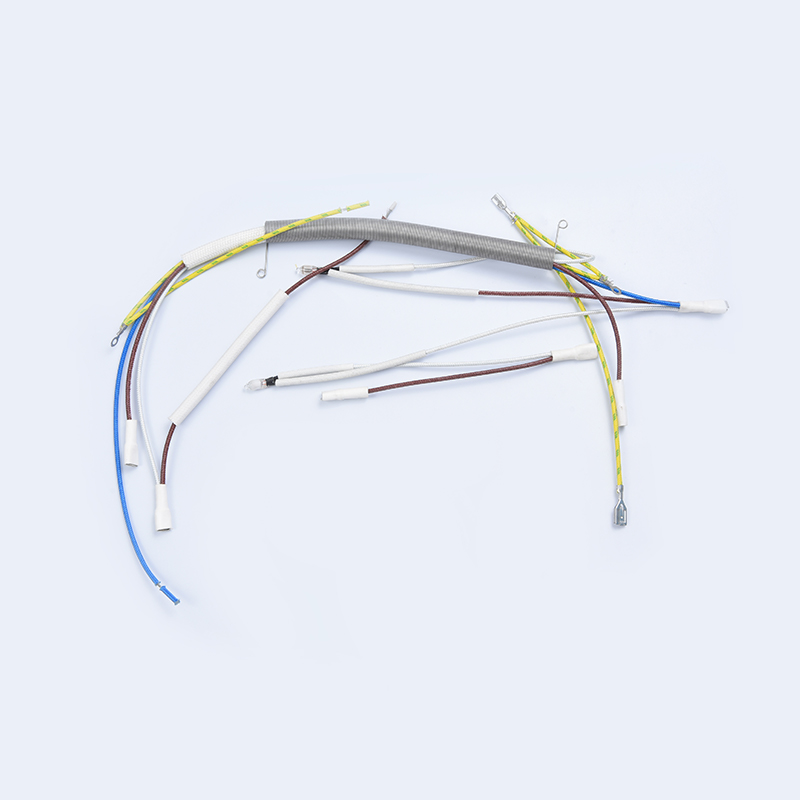
In appliances such as air fryers, electric kettles, and washing machines, wiring harnesses carry power to motors, heaters, and control boards. A single loose crimp can cause voltage drop, overheating, or arc faults that lead to fire. Manufacturers of kitchen appliance wiring harnesses and environmental electrical wiring harnesses follow strict crimp specifications, including pull-force limits and cross-section inspection, to ensure every joint meets industry standards.
For example, a common failure in electric grills is a crimped terminal that loosens after repeated thermal expansion. That is why professional-grade harnesses use closed-barrel terminals and automated crimping machines that deliver repeatable force. Whether you are repairing a home device or designing a production run, the same principles apply.
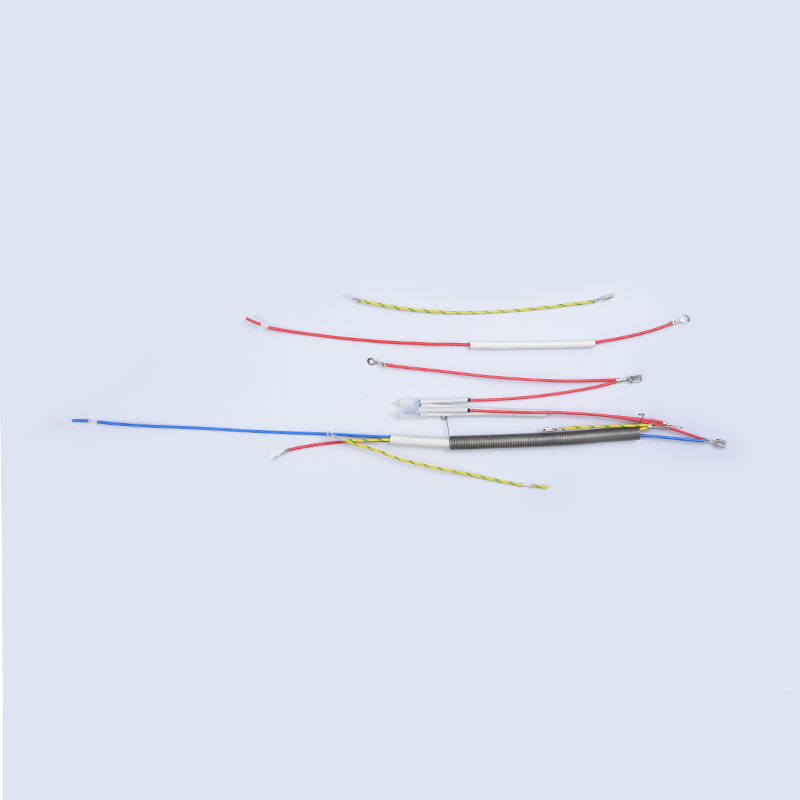
 Kitchen Appliance Wiring Harness ManufacturersCixi Tengyu Electric Appliance Co., Ltd.View Product →
Professional Crimping Meets Custom Wire Harness Manufacturing
When crimping is part of a larger assembly—like a wiring harness for an ice maker or a heater—consistency becomes even more critical. A custom wire harness factory will integrate crimping into a controlled process that includes terminal selection, die wear monitoring, and batch pull testing. This level of control reduces field failure rates and simplifies installation for appliance OEMs.
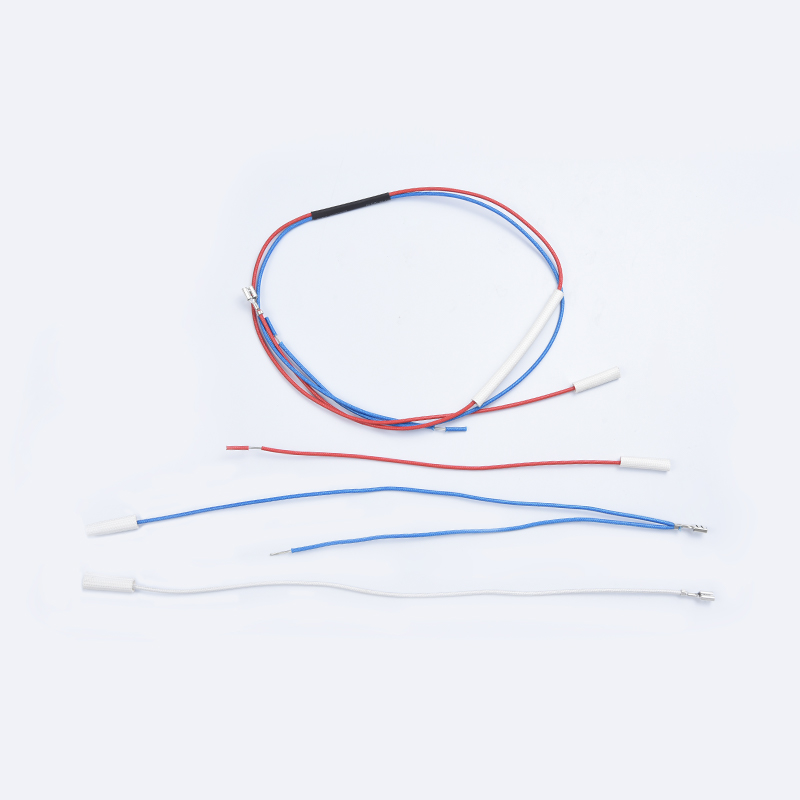
In addition to raw wiring, many harness designs also incorporate temperature monitoring components such as NTC temperature sensors. These sensors are crimped directly into the harness during assembly, requiring the exact same attention to terminal fit and compression quality. A poorly crimped sensor lead can drift in resistance readings or come loose entirely, compromising the appliance's safety features.
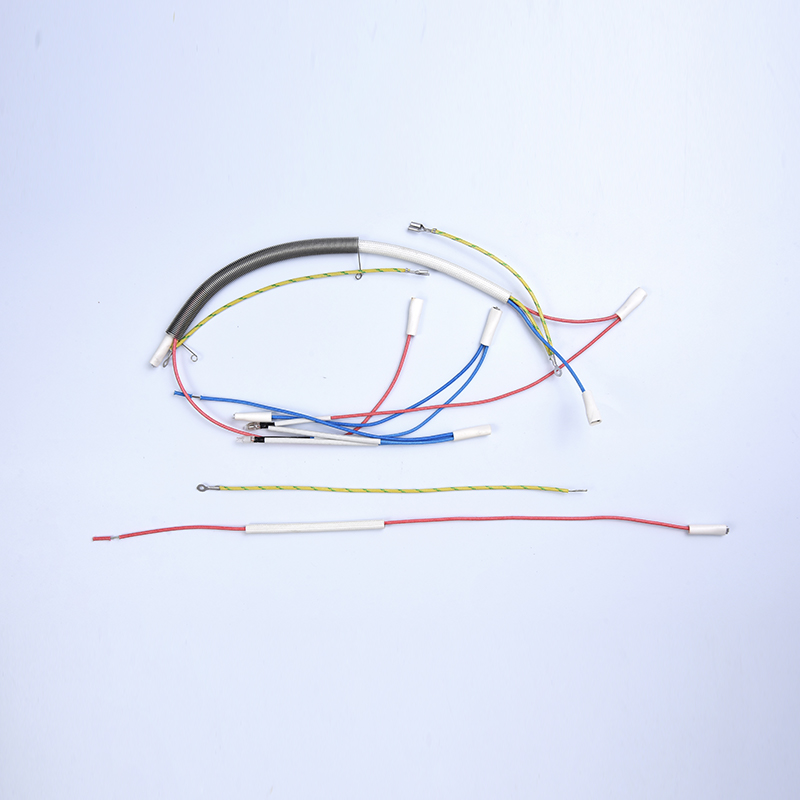
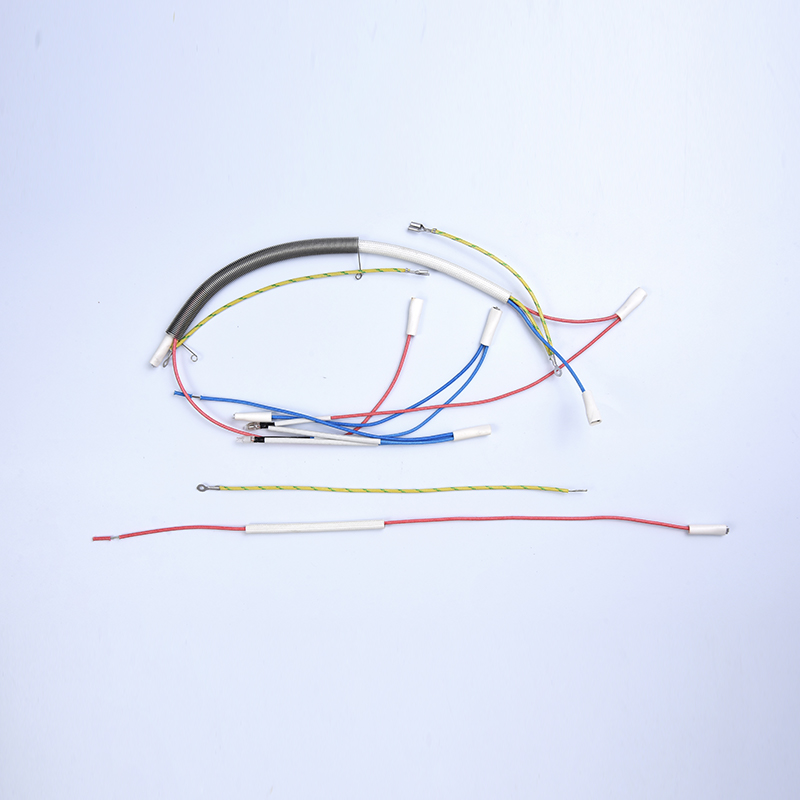
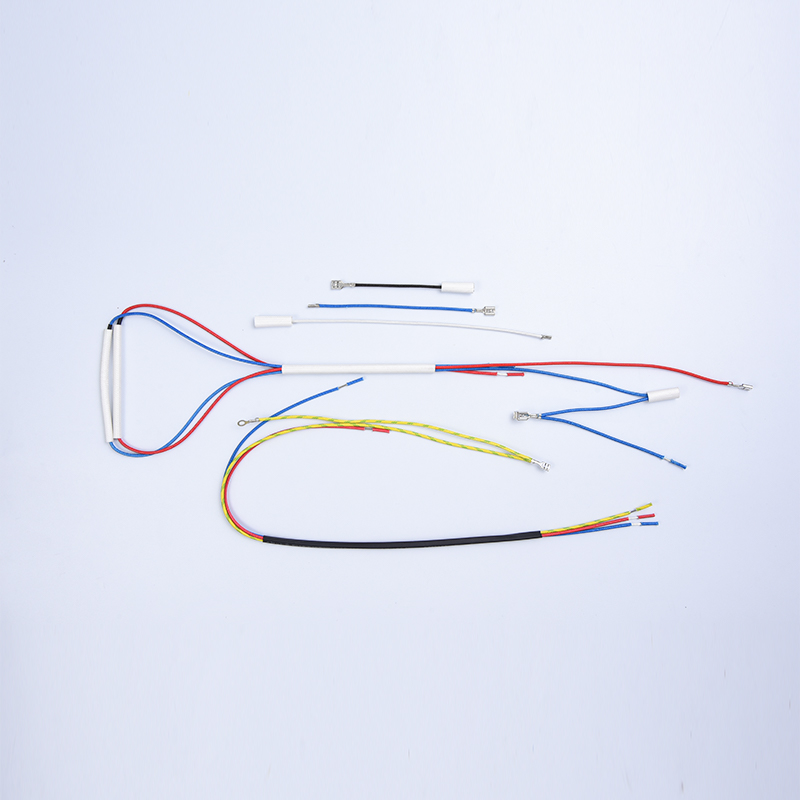 Environmental Electrical Wiring Harness ManufacturersCixi Tengyu Electric Appliance Co., Ltd.View Product →
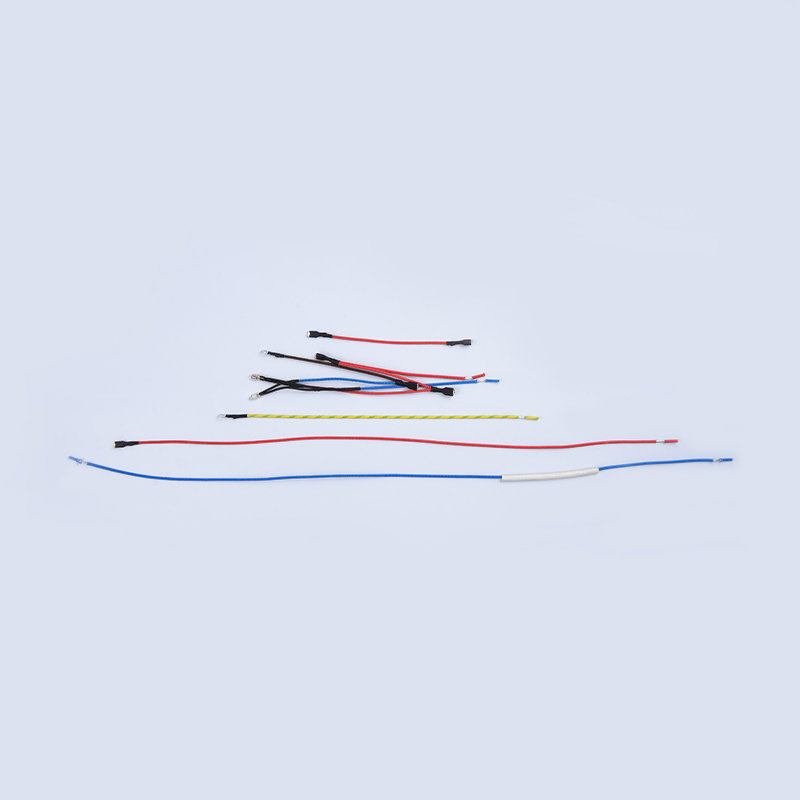
 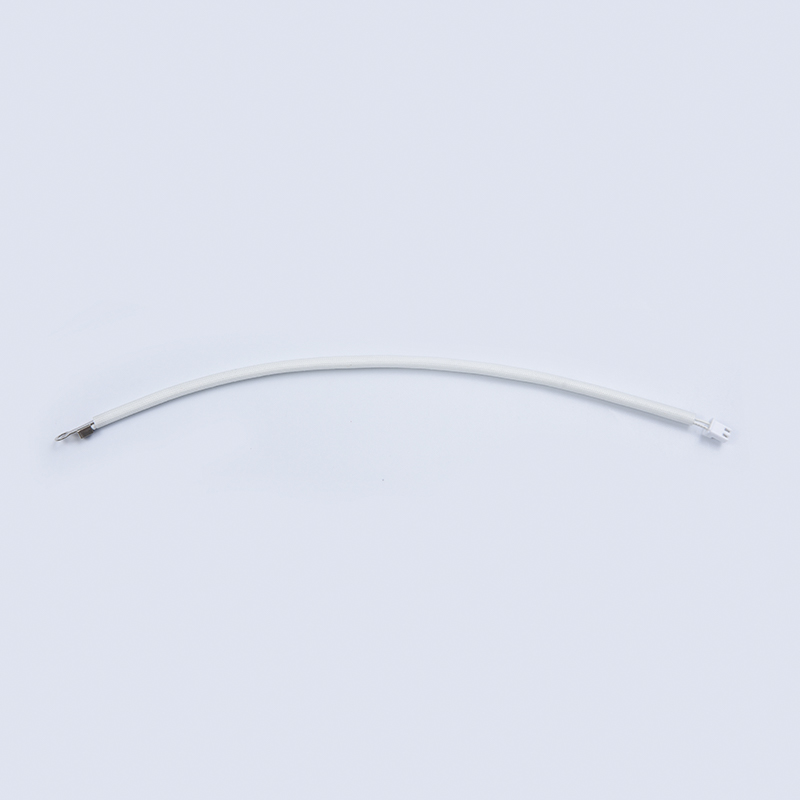 NTC Temperature Sensor ManufacturersCixi Tengyu Electric Appliance Co., Ltd.View Product →
A Practical Reference for Evaluation
When sourcing or replacing a wiring harness, checking crimp quality is one of the fastest ways to assess overall manufacturing care. The table below summarizes key factors to look for during examination.
| Factor | What to Check | Sign of Good Quality |
|---|---|---|
| Crimp height | Use a micrometer on the barrel | Within terminal manufacturer's spec |
| Pull force | Pull test with a gauge | Exceeds wire tensile strength |
| Insulation position | Visual inspection | Insulation aligns with rear barrel |
| Strand visibility | Look for missing or cut strands | All strands present and uncut |
Mastering how to crimp wire correctly saves time, reduces warranty claims, and keeps appliances running safely. Whether you are performing a single repair or overseeing production, invest in proper tooling, follow a repeatable process, and verify each connection. For customized wiring harnesses that already meet these standards, explore the product pages linked throughout this article for ready-to-integrate solutions.