+86-0574-63316601


 中文简体
中文简体Content
- 1 Find the Heat Source Before You Choose a Sleeve
- 2 Match the Insulation to the Working Temperature
- 3 Barriers and Sleeving That Hold Up Over Time
- 4 Routing and Airflow Do Half the Work
- 5 Where Heat Protection Matters Most in an Appliance
- 6 Sleeving Is Only Half of Overheat Protection
- 7 Terminals, Connectors, and Strain Relief
- 8 Mistakes We See Most Often
- 9 A Short Field Checklist
- 10 When the Numbers Do Not Add Up
Wires rarely fail because of the copper inside them. They fail because the insulation around that copper was asked to live somewhere hotter than it was ever designed for. A jacket hardens, the plasticiser slowly migrates out, a small crack opens up next to a terminal, and months later an appliance starts tripping a breaker with no obvious cause.
We build wiring harnesses for kitchen and environmental appliances, and "how do I protect wires from heat" is one of the questions we answer most often. What follows is the same working method our engineers use on the factory floor: find the heat source, match the insulation to it, add a barrier only where it is genuinely needed, and let airflow do the cheapest part of the job.
Find the Heat Source Before You Choose a Sleeve
Most people reach for a product first, a sleeve, a roll of tape, a length of heat-shrink, before they have measured anything. That order is backwards. Heat reaches a wire in three different ways, and each one calls for a different answer.
- Radiant heat travels through air from a glowing element or a hot metal panel.
- Conductive heat arrives through direct contact with a bracket, chassis, or heating block.
- Convective heat is the hot air itself: the inside of an oven cavity, the exhaust path of an air fryer, the air stream behind a space heater.
Fix the wrong mode and you will spend money on a barrier that does nothing. A reflective wrap, for example, is excellent against radiant heat and almost useless when the wire is bolted to a 140 °C bracket.
| Heat Source | Typical Temperature | How It Reaches the Wire | Usual Countermeasure |
|---|---|---|---|
| Heating element or hot plate | 150 to 450 °C at the source | Radiant, falls off with distance | Standoff clips, reflective wrap, rerouting |
| Metal chassis or bracket | 60 to 150 °C | Direct contact | Sleeving, insulated clips, air gap |
| Oven, fryer, or heater air path | 150 to 250 °C | Convection and hot dust | High-temperature lead wire, fiberglass sleeve |
| Motor, compressor, transformer | 60 to 120 °C | Contact plus local air | Silicone insulation, spacing, strain relief |
| Steam and hot water lines | 90 to 120 °C | Contact and condensation | Silicone or PTFE insulation, drip loop |
| Summer ambient heat | 40 to 60 °C | Surrounding air | Standard 105 °C wire, open routing |
Good practice is to run the appliance at its worst case, meaning full power, door closed, no extra fan assistance, and measure with a thermocouple or an infrared thermometer at the exact spot where the wire sits. That measured number, not the marketing spec of the appliance, is what should drive the decision.
Match the Insulation to the Working Temperature
Every insulation material has a continuous temperature rating, and it is the continuous number that matters most. A cable rated for 105 °C will survive a short spike well above that, but if it lives at 110 °C day after day, the clock is running. Choose a rating at least 20 to 30 °C above your measured maximum so that normal variation never eats into your margin.
| Material | Typical Continuous Rating | Flexibility | Best Used For |
|---|---|---|---|
| PVC hook-up wire | 70 to 105 °C | High | Cool, dry, low-cost internal runs |
| XLPE | 125 to 150 °C | Moderate | General appliance internal wiring |
| Silicone rubber | 180 to 200 °C | Very high | Near heaters, kettles, steamers |
| PTFE | About 250 °C | Moderate | Thin-wall, chemically exposed runs |
| Fiberglass braid over silicone | 250 to 450 °C | Low | Oven and heater lead wire |
| Polyolefin heat-shrink | 125 °C | Shrinks rigid | Terminal and splice protection |
| Fluoropolymer heat-shrink | About 200 °C | Shrinks rigid | Hot-side terminal protection |
A detail people forget: heat ages a wire locally, not evenly. The section that passes a heating element may be the only hot part of a two-metre run, which means the whole circuit is only as durable as that one short length. Protecting the hot spot is usually cheaper and more effective than upgrading the entire harness.
Barriers and Sleeving That Hold Up Over Time
Heat-shrink tubing
A short length over a terminal crimp, or over the few centimetres that pass nearest a heater, is often all that is needed. Adhesive-lined tubing seals out moisture as well as heat, which helps in steam appliances. Keep in mind that standard polyolefin tubing is not a fix for 250 °C surfaces; at that temperature you need a fluoropolymer or silicone sleeve instead.
Braided sleeving and fiberglass sleeves
For runs that still need to flex, expandable braided sleeving slipped over the existing jacket is an easy upgrade, and it also resists abrasion. Fiberglass sleeves with a silicone coating take the highest temperatures and are the usual choice for oven leads and element feeds. Both options add diameter and a little stiffness, so plan the routing before you commit.
Reflective wraps and physical standoffs
Aluminium-faced tape and reflective wraps work by bouncing radiant energy away rather than absorbing it, which makes them very effective around heating elements and remarkably ineffective on a surface the wire is already touching. Where you can, create an air gap instead. Even ten millimetres of clearance in still air can drop the surface temperature of a cable noticeably, and ceramic or metal standoffs do the same job without adding anything flammable.
Routing and Airflow Do Half the Work
Before any material is added, the layout itself decides how hot a wire will run. These habits cost nothing and solve a large share of heat problems:
- Keep a deliberate clearance from elements and hot panels, and check the appliance manufacturer's minimum spacing where one is specified.
- Avoid long parallel runs that hug a hot surface; cross the hot zone perpendicular and get away from it quickly.
- Do not bundle wires tightly against a hot wall. A tight bundle traps heat and reduces the surface area that can shed it.
- Route along the cooler outer wall of a cavity rather than through the middle of the air stream.
- Use high-temperature ties and clips near heat. Nylon ties and paper labels are usually the first things to fail, and a failed tie lets the harness drop onto the element.
- Add a drip loop where steam or condensate is present, so water runs off instead of travelling along the cable into a connector.
Where Heat Protection Matters Most in an Appliance
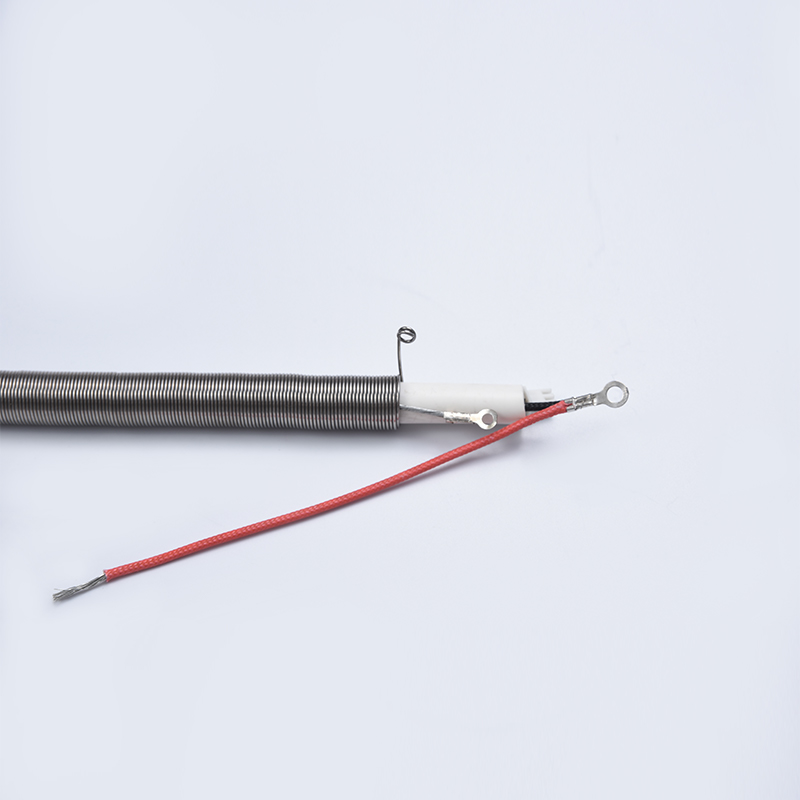
Ovens, air fryers, deep fryers, kettles, coffee machines, heaters and garment steamers all share the same basic problem: a heating element sits a short distance from a bundle of wires, and the space in between is a moving column of hot air. In an electric oven, the leads feeding the bake and broil elements are usually the first to show damage, going brown and stiff near the terminal long before anything else fails. A high-temperature lead wire with a fiberglass or silicone sleeve, crimped onto a proper high-temperature terminal, is the standard fix, and shifting the lead slightly away from the element shield costs nothing at all.
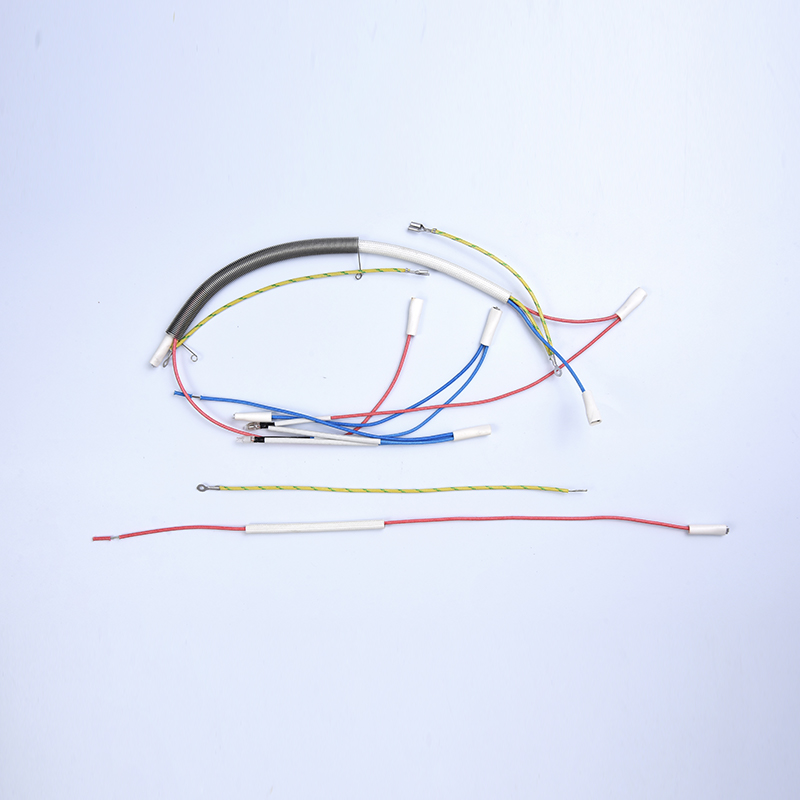
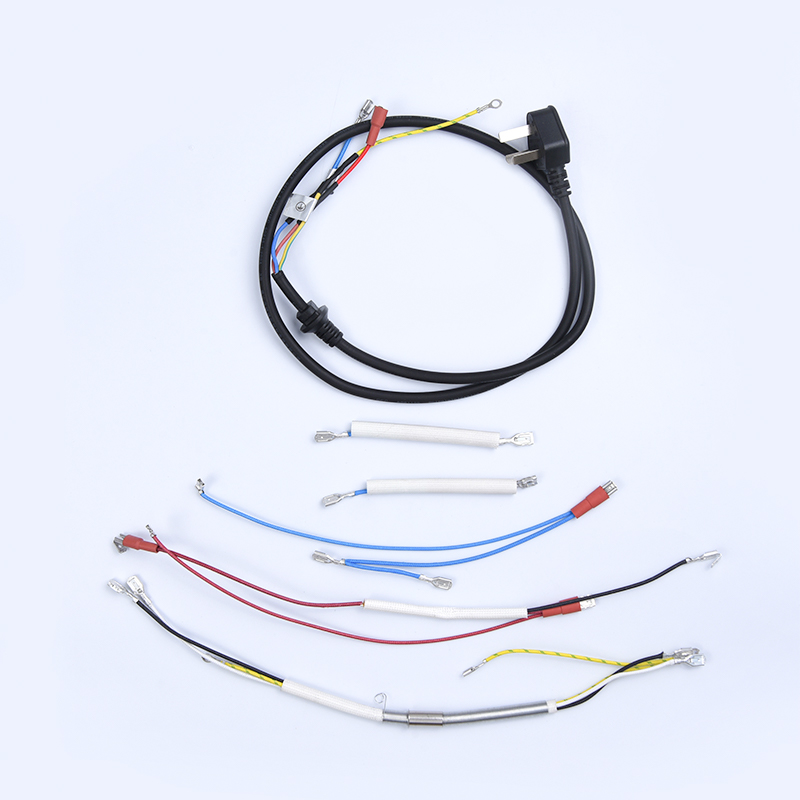
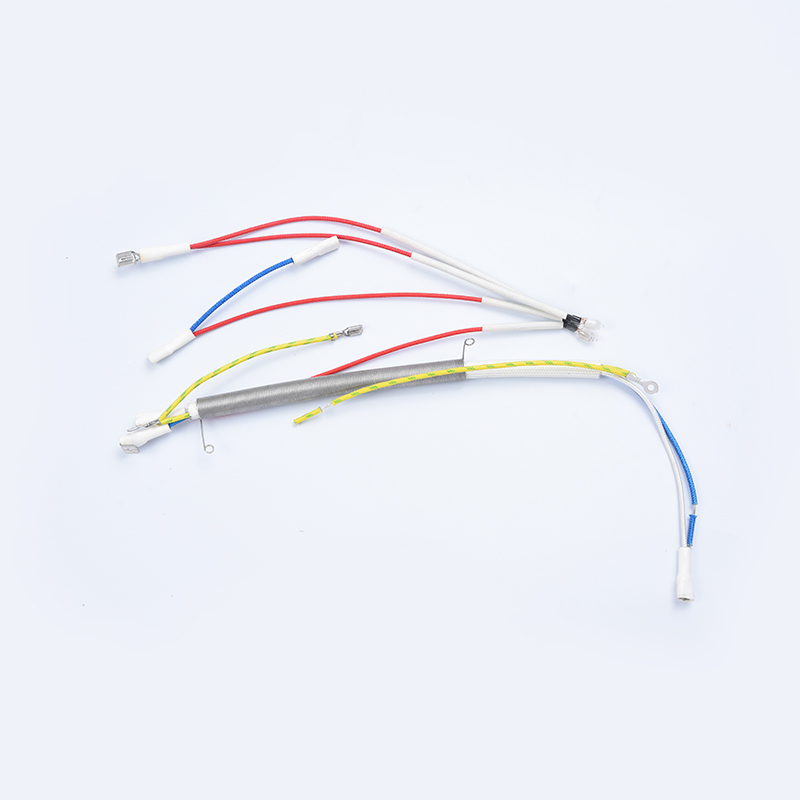
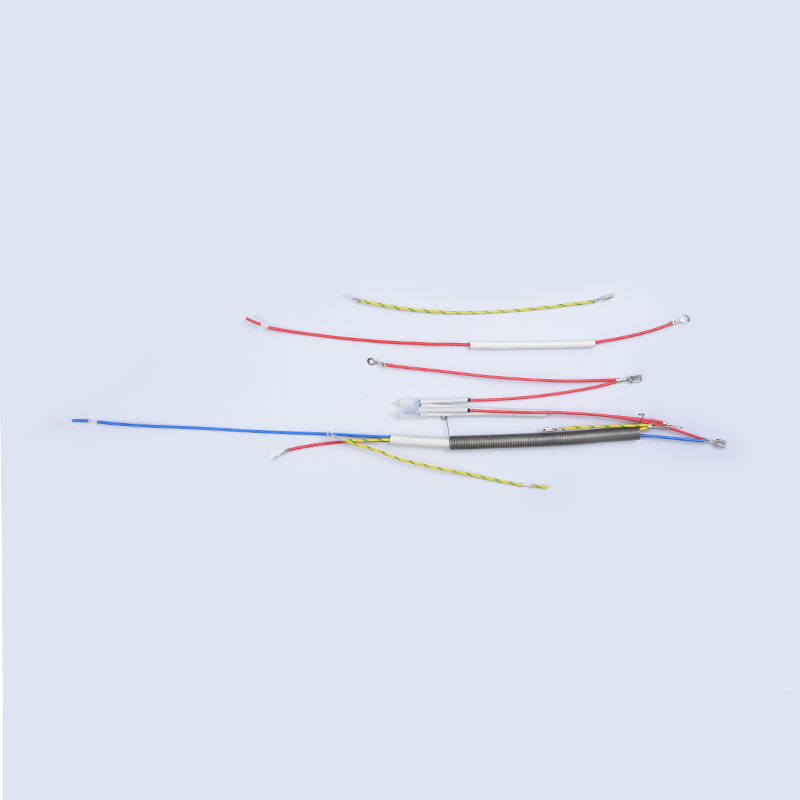
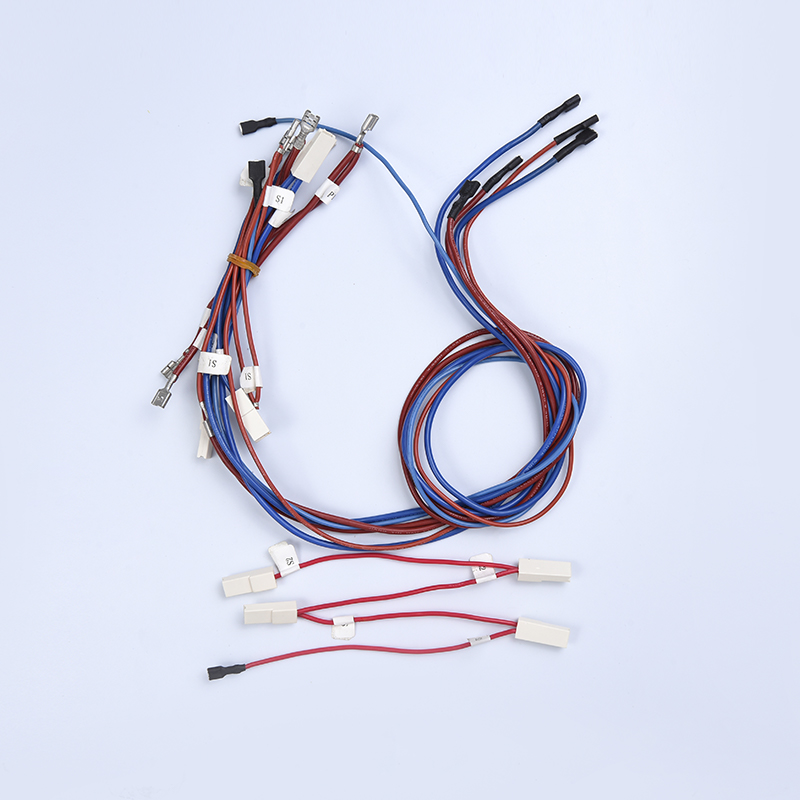 High-Temperature Electric Oven Wiring HarnessDesigned for ovens where heat threatens lead wires, this silicone-insulated harness connects heating elements, thermostats, and controls with UL/CE compliance.View Product →
Space heaters and fan heaters bring a different wrinkle: the element is often only centimetres from the plastic housing, so the air around the harness is hot even when the wire never touches metal. Keeping the run on the intake side of the airflow, or along the cool outer shell, is more effective than adding layers of insulation that trap heat where you least want it.
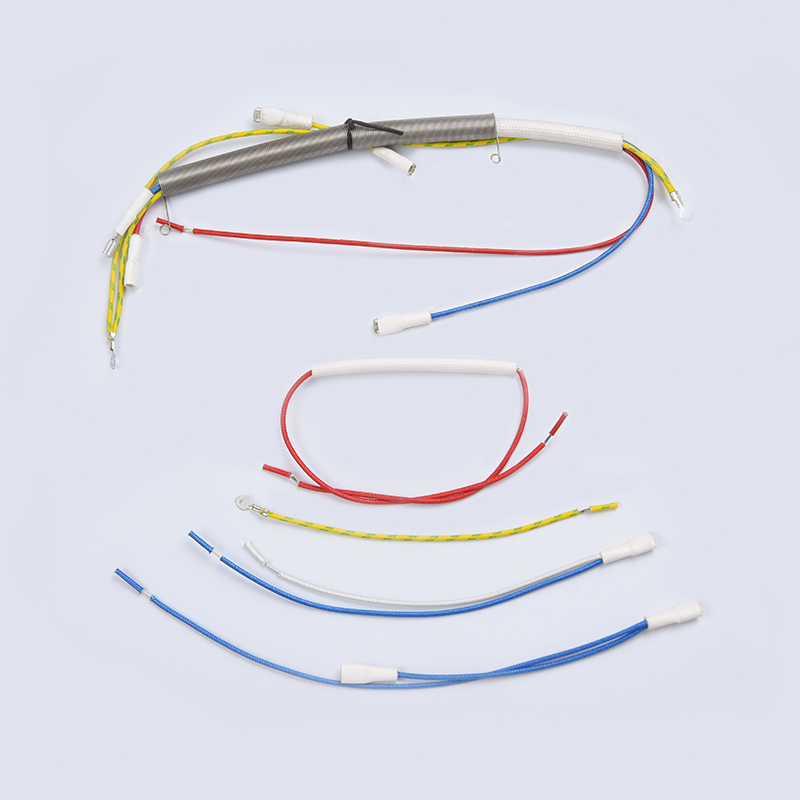
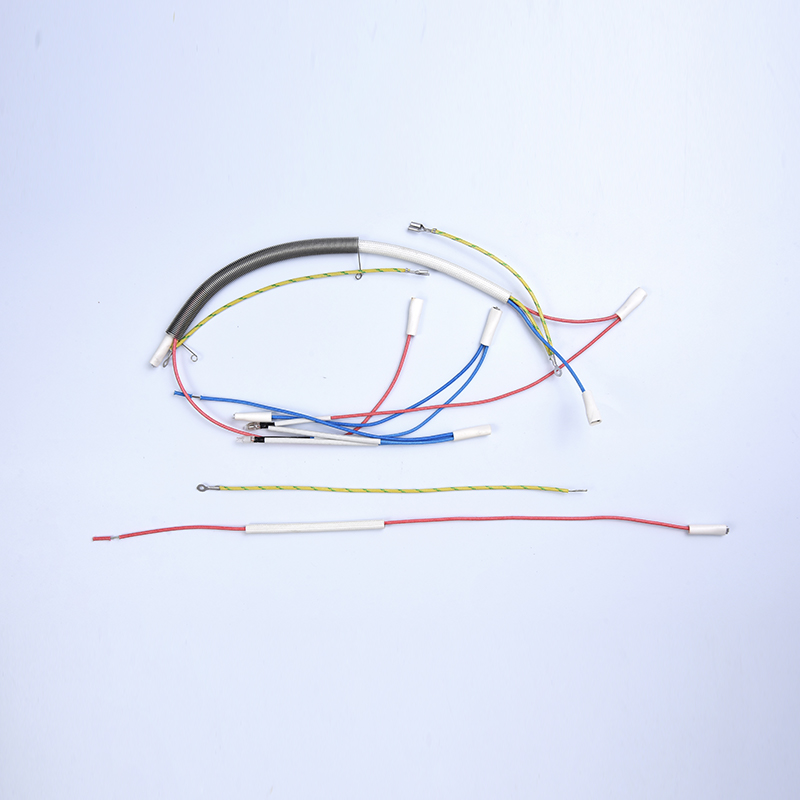
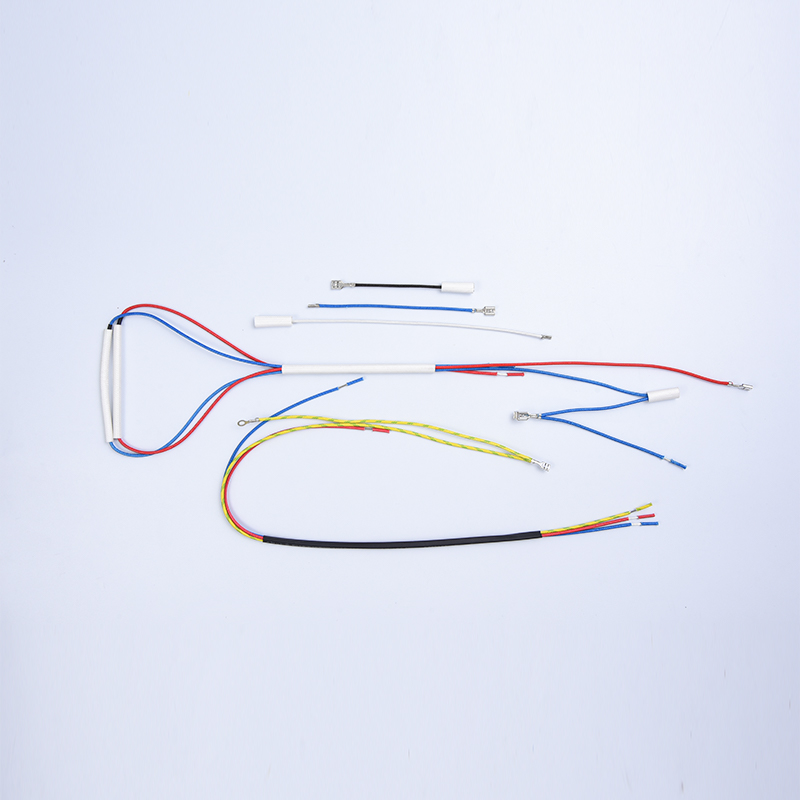 Custom Heater Wiring Harness for High-Temperature ApplicationsFor heaters exposed to hot air and oil vapour, this customizable harness uses high-temperature insulation and reliable terminals for safe current flow.View Product →
Fryers and grills add oil vapour to the heat, which is worse than dry heat alone. Oil mist softens many plastics and lets dust stick to the jacket, so the surface runs hotter than it would in clean air. A sleeve that resists both heat and oil, combined with a route along the cooler outer wall, keeps the same harness alive far longer. If you want a closer look at how lead wire and terminal design work together, our note on preventing overheating in electric oven wiring harnesses is a useful next read.
Sleeving Is Only Half of Overheat Protection
Barriers buy time; sensing prevents the damage from happening at all. An NTC temperature sensor mounted near the element or in the cavity air path gives the control board a real number to act on, so power is cut before the insulation reaches its limit. This is why the most durable appliances we see use both approaches together: a high-temperature harness for the short term and a sensor for the long term. Choosing a sensor with the right resistance curve and a housing that suits the mounting point matters as much as the wire itself.
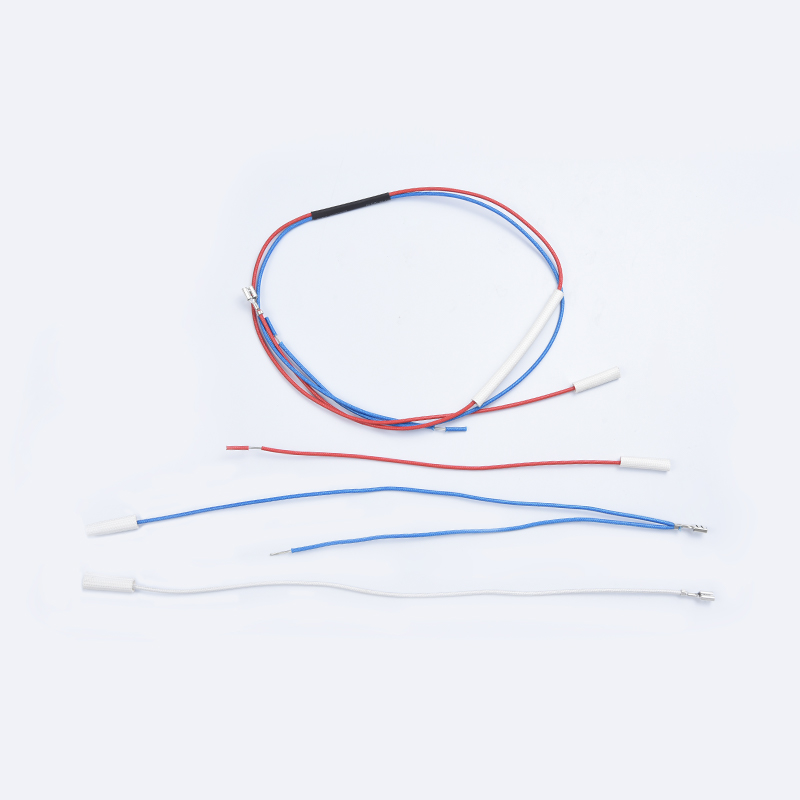
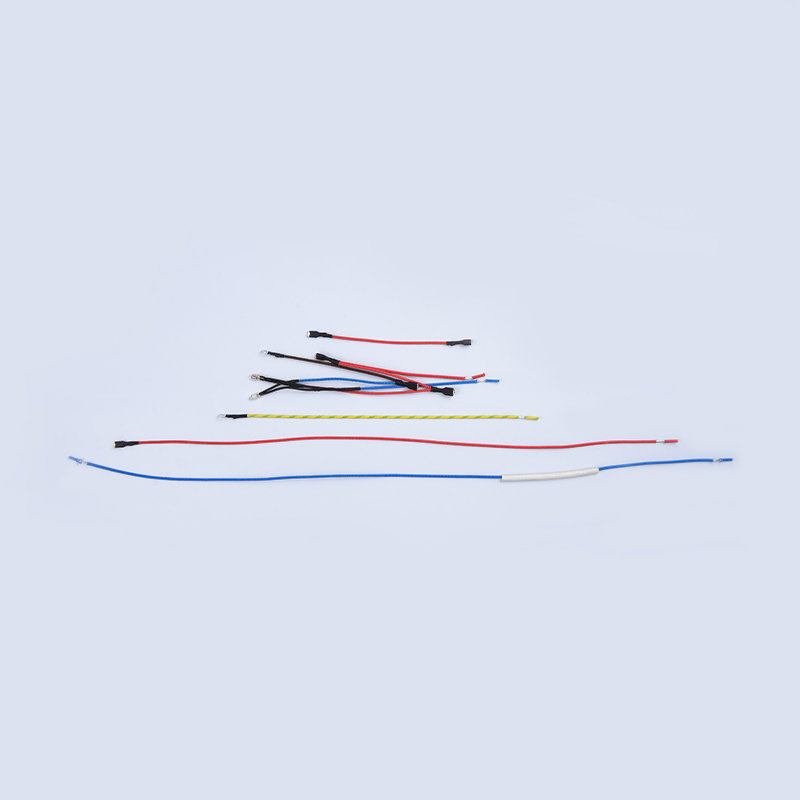
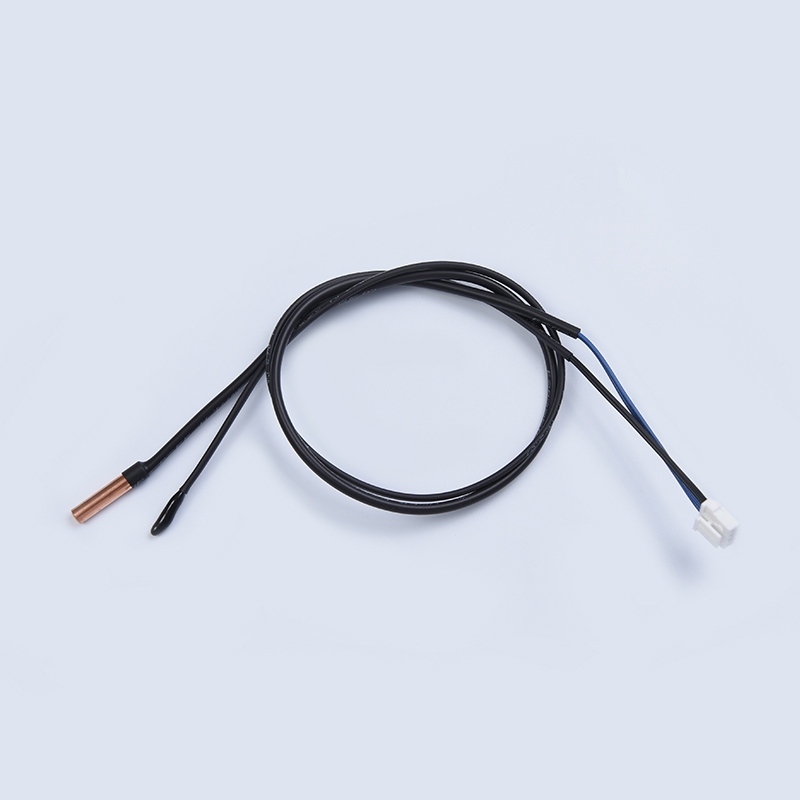 Heater NTC Temperature Sensor for Real-Time ControlMounted near heating elements or cavity air paths, this NTC sensor supports accurate closed-loop temperature monitoring and control in heaters.View Product →
Terminals, Connectors, and Strain Relief
The last few centimetres of a wire are where heat damage usually becomes a safety problem. Use terminals and connector housings rated for the same temperature class as the wire, and consider silicone boots over the hot-side connections. A clean crimp with proper insulation support, followed by gentle strain relief so the cable cannot be pulled into the hot zone, prevents the mechanical damage that heat makes so much easier.
It is also worth checking bend radius after rerouting. A wire pushed into a tight curve to escape a hot surface can develop its own fatigue crack, and that crack will look exactly like heat damage when it finally shows up.
Mistakes We See Most Often
- Wrapping ordinary PVC tape around a wire near a heater and calling it protected.
- Covering an entire harness with heat-shrink "just in case", which traps heat and hides damage.
- Bundling wires tightly against a hot surface instead of creating an air gap.
- Ignoring ties and labels, which fail first and let the harness drop onto the element.
- Upgrading the wire gauge while keeping the same low-temperature insulation.
- Rerouting to avoid heat without checking bend radius or connector strain.
A Short Field Checklist
- Measure the worst-case temperature at the wire, not in the room.
- Identify whether the heat is radiant, conductive, or convective.
- Select insulation rated at least 20 to 30 °C above the measured value.
- Add a barrier only where the measurement justifies it.
- Create clearance and airflow before adding material.
- Secure the run with high-temperature ties and verify bend radius.
- Re-measure after reassembly to confirm the fix actually worked.
When the Numbers Do Not Add Up
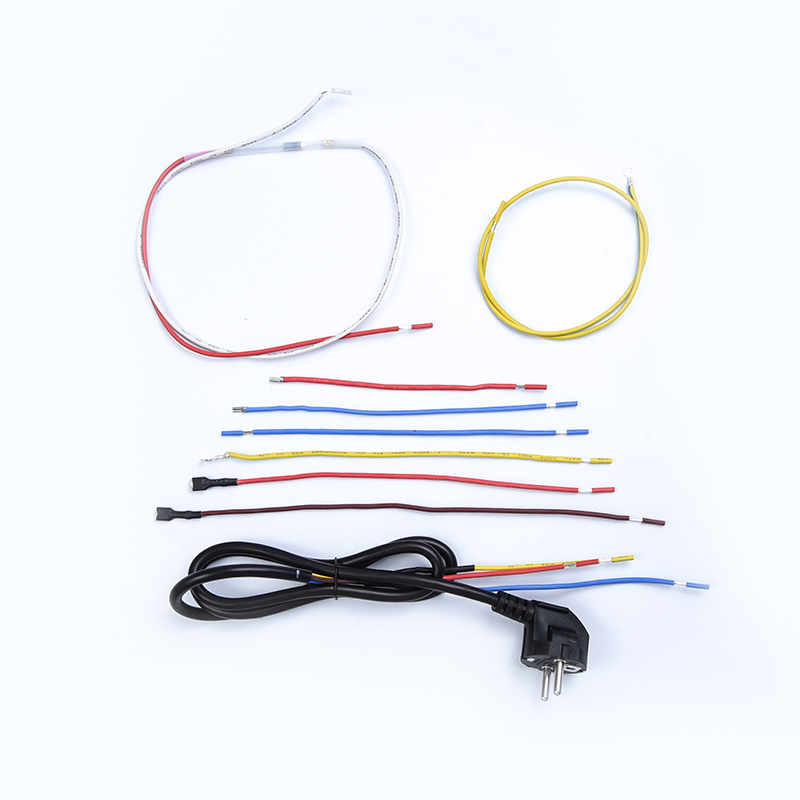
Sometimes the measured temperature is simply too high for any standard cable, or the space is too tight to add a sleeve and still close the housing. That is the moment to involve a harness maker rather than keep stacking tape. Lead wire material, sleeve type, terminal plating, and connector housing can all be specified together so the finished assembly meets the real conditions inside the appliance instead of a comfortable test bench. If you are working through that kind of decision, our custom kitchen appliance wiring harnesses page is a good place to see how these choices come together.