+86-0574-63316601


 中文简体
Content
- 1 Step One: Understand What a Car Circuit Really Is
- 2 Step Two: Learn to Read a Wiring Diagram
- 3 Step Three: Build a Bench Before You Touch a Car
- 4 Step Four: Practice on a Real Car Without Making It Worse
- 5 Step Five: Learn the Harness Side of the Craft
- 6 A Realistic Learning Path at a Glance
- 7 Mistakes That Slow Beginners Down
- 8 How Long It Takes, and How to Keep Going
- 9 Where to Start Tonight
Car wiring has a reputation for being difficult, and much of that reputation comes from starting in the wrong place. People buy a roll of wire, open the hood, and try to follow a loom with forty connectors before they have ever traced a single circuit on paper. The hobbyists who pick it up quickly tend to do the opposite: system first, diagram second, bench third, vehicle last.
What follows is an order of work for someone learning at home, with modest tools and a car they would rather not damage. It is not a shortcut, because there isn't one, but it keeps every stage a little easier than the one before it.
Step One: Understand What a Car Circuit Really Is
A car's electrical system is simple in principle: a 12V battery, a metal body that acts as the return path for almost everything, and a collection of circuits that each do one job. Whether you are looking at a trunk light or an engine sensor, the skeleton is the same. There is a power source, a fuse for protection, a control device such as a switch or relay, a load that does the work, and a ground return through the chassis.
Before touching a car, get comfortable with a small vocabulary. It will save you hours of confusion later.
- Voltage: roughly 12.6V at rest on a healthy battery, closer to 14.4V with the engine running. Voltage is pressure, not flow.
- Current: measured in amps. A small bulb may draw half an amp; a starter motor draws hundreds. Wire gauge and fuse rating follow current, not voltage.
- Resistance and continuity: a good length of wire reads close to zero ohms. Continuity mode on a multimeter simply tells you whether a path exists.
- Voltage drop: the difference between what goes in and what comes out. It must be measured with the circuit switched on and loaded, which is where many beginners go wrong.
- Gauge (AWG): the smaller the number, the thicker the wire. Thin wire on a big load gets hot.
- Relay: an electrically operated switch that lets a small current control a large one, keeping heavy cables away from the dashboard.
- Ground: the return path through the body shell. A corroded ground can imitate a dozen different faults, so check it first.
One safety idea is worth internalizing early: 12V will not shock you, but a short circuit across a battery can pass hundreds of amps and start a fire. Fuse every test lead you make, and disconnect the battery negative terminal before you work on anything.
Step Two: Learn to Read a Wiring Diagram
Wiring diagrams are the language of the trade, and they are far less intimidating than they look once you know the layout conventions. Get the factory service manual or electrical troubleshooting manual for your exact model and year if you can. Generic online diagrams are better than nothing, but connector pin numbers and wire colors vary between trim levels.
Trace one circuit end to end, on paper, ten times
Pick the simplest circuit you can find, usually a dome light or a single headlamp. Start at the fuse, follow the wire to the switch, then to the relay contact, then to the lamp, and finally to the ground point. Then trace the control side separately: switch to relay coil to ground. Draw it by hand rather than highlighting it. The act of redrawing forces you to notice every splice and connector.
Learn the symbols and pin numbering
Ground symbols, splice dots, connector callouts such as C204 pin 3, and the color abbreviations printed next to each wire are all worth memorizing. Once you can read them fluently, a diagram stops being a picture and starts being a set of instructions.
Step Three: Build a Bench Before You Touch a Car
Most of the skill in car wiring is hand skill, and hand skill is best learned away from a vehicle where mistakes cost nothing. A basic bench setup is cheap:
- A 12V power supply or a spare battery, always through an inline fuse
- A multimeter with continuity, resistance, and DC voltage ranges
- A ratcheting crimper, a wire stripper, and a flush cutter
- Assorted terminals, connectors, heat shrink, and corrugated loom
- A handful of automotive bulbs, a switch, a relay, and a socket for it
- A notebook, because you will forget which terminal you tested
Four exercises that teach most of what you need
- Wire a bulb through a switch and a fuse. Confirm it works, then measure voltage at the bulb with the switch closed.
- Repeat the same circuit using a relay, with the switch controlling only the coil. This is the single most useful pattern in vehicle electrics.
- Introduce a deliberate fault, such as a loose ground, and measure the voltage drop across it under load. Learn what a bad connection looks like on a meter.
- Rebuild everything on a board as a three-circuit mini harness, with proper connectors, correct lengths, and loom protection. This is where bench practice starts to look like real harness work.
If you want to see how a hand-built harness is supposed to look before you attempt your own, this walkthrough on building a car wiring harness from scratch pairs well with the exercises above.
Step Four: Practice on a Real Car Without Making It Worse
When you move to the vehicle, choose a circuit that cannot strand you: interior lighting, the horn, a power outlet, or a trunk release. Leave airbags, ABS, and engine management alone until you have real experience, and never probe an airbag connector with a multimeter.
A few habits separate learners from people who create new faults:
- Disconnect the battery ground before unplugging anything, then reconnect only to test.
- Back-probe connectors from the terminal side instead of piercing insulation, which traps moisture and causes corrosion months later.
- Use a fused jumper lead for any live test, and keep the meter on the correct range.
- Photograph every connector before you separate it, and label both halves with tape.
- Test the circuit as a whole rather than replacing parts one by one and hoping.
Diagnosis follows a fixed order: confirm the fuse, confirm power at the load, confirm the ground, then measure voltage drop under load. Skipping the ground check is the most common reason beginners chase a fault they cannot find.
Step Five: Learn the Harness Side of the Craft
Reading diagrams teaches you what a circuit does; building harnesses teaches you why some circuits last twenty years and others fail in two. In production, every wire is cut to a measured length, crimped to a specified pull force, strain-relieved at the connector, and protected against abrasion and heat. Wire color coding, terminal seals, and consistent routing are not decoration, they are what makes a loom serviceable later.
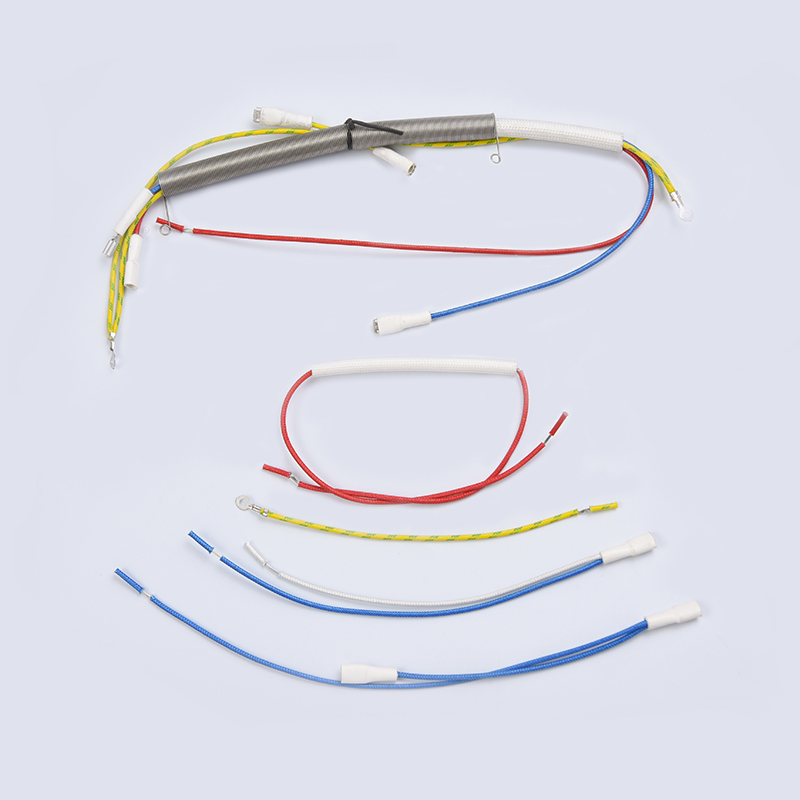
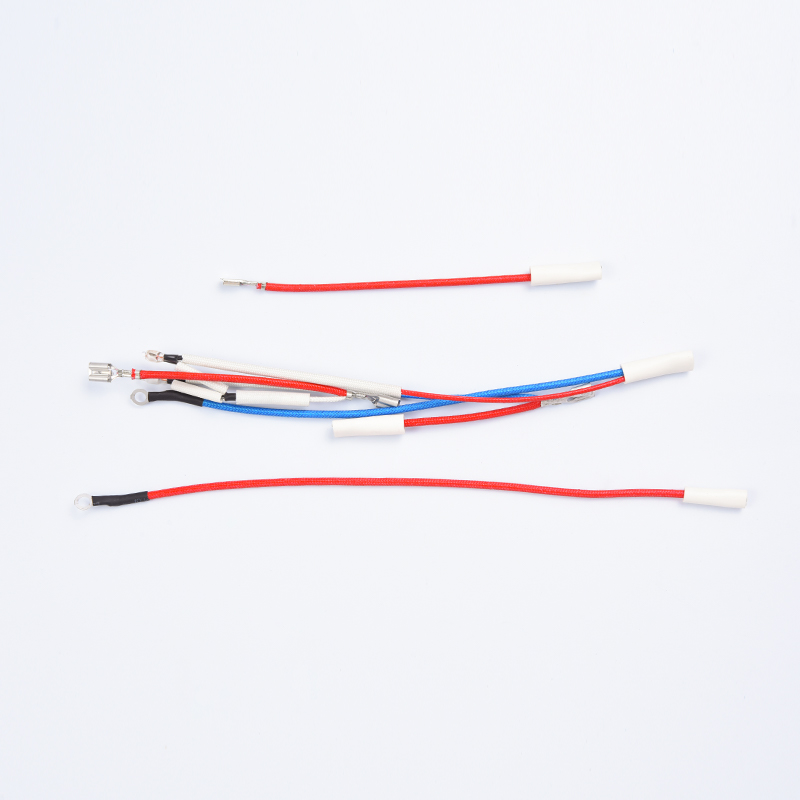
The same discipline applies in appliance manufacturing, where a harness has to survive vibration, heat, and years of daily use. Our kitchen appliance harnesses are a good reference point for how a finished, tested loom is laid out:
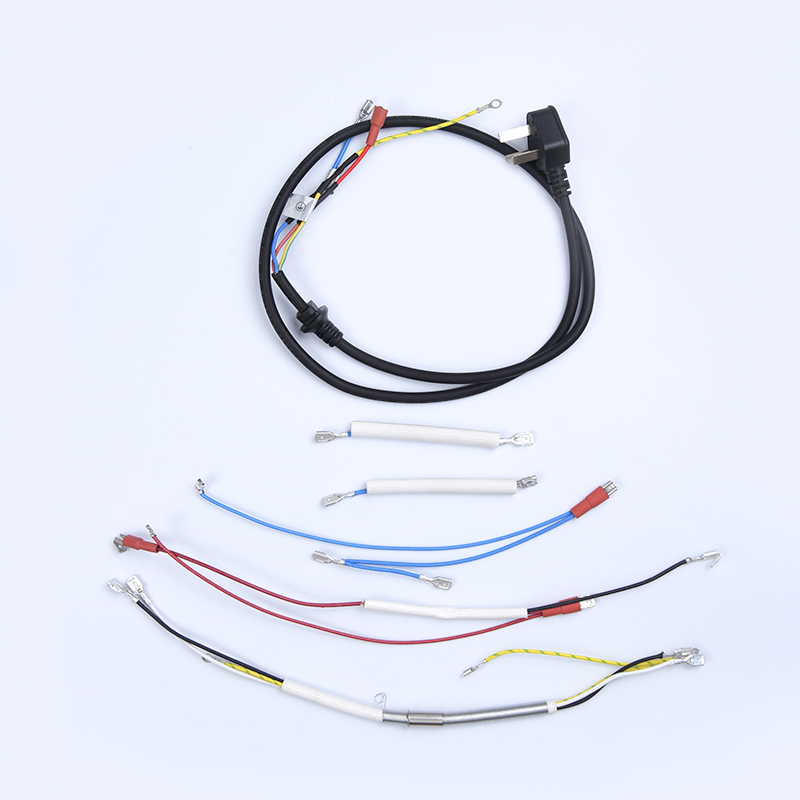
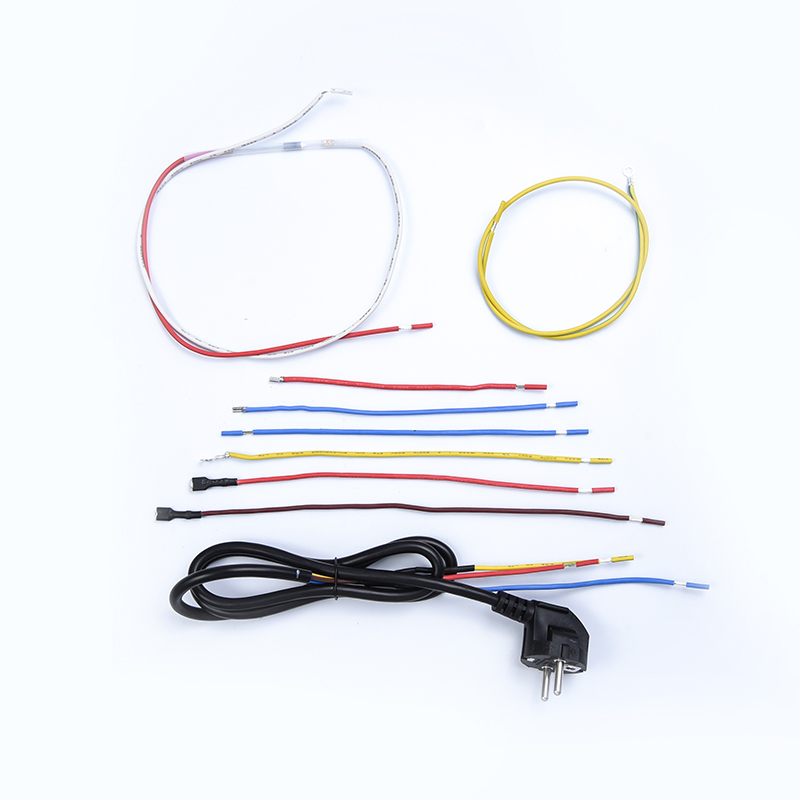
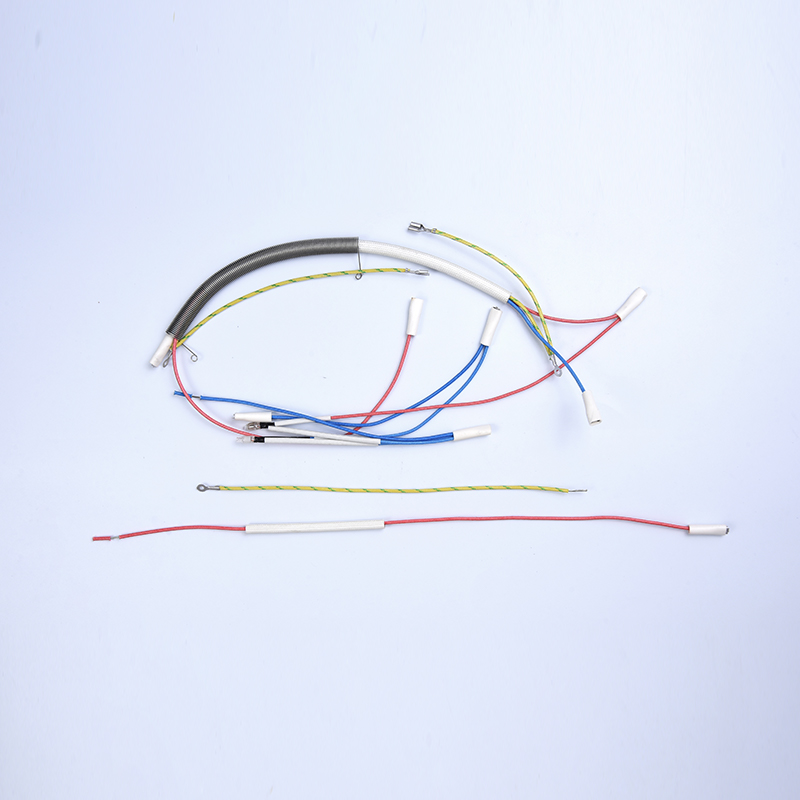 Kitchen Appliance Wiring Harness RangeBrowse tested loom layouts for sandwich ovens, baking pans, air fryers, and other kitchen appliances, useful as a reference for vibration- and heat-resistant harness construction.View Product →
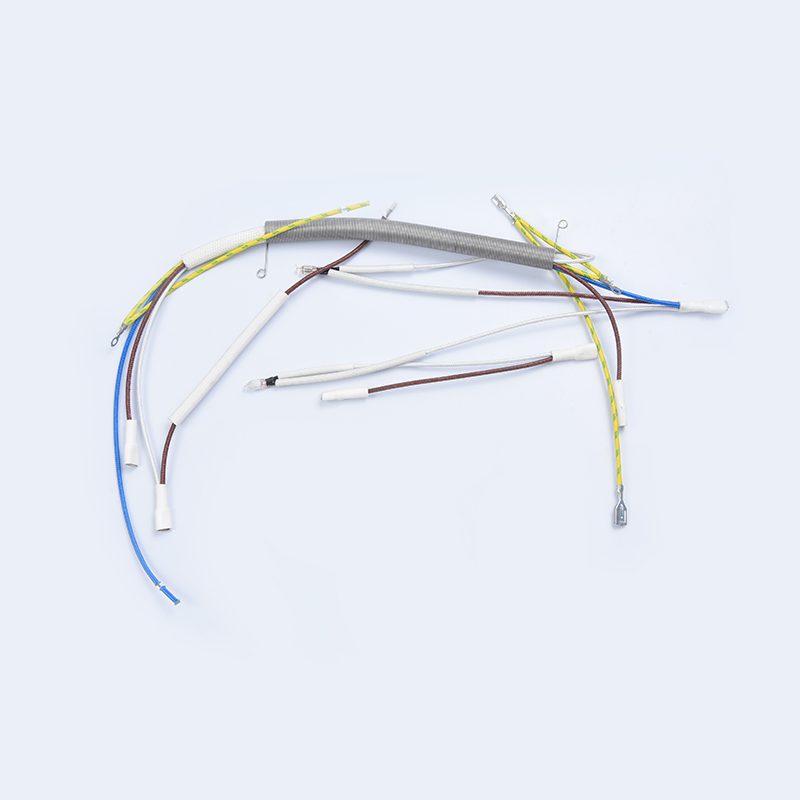
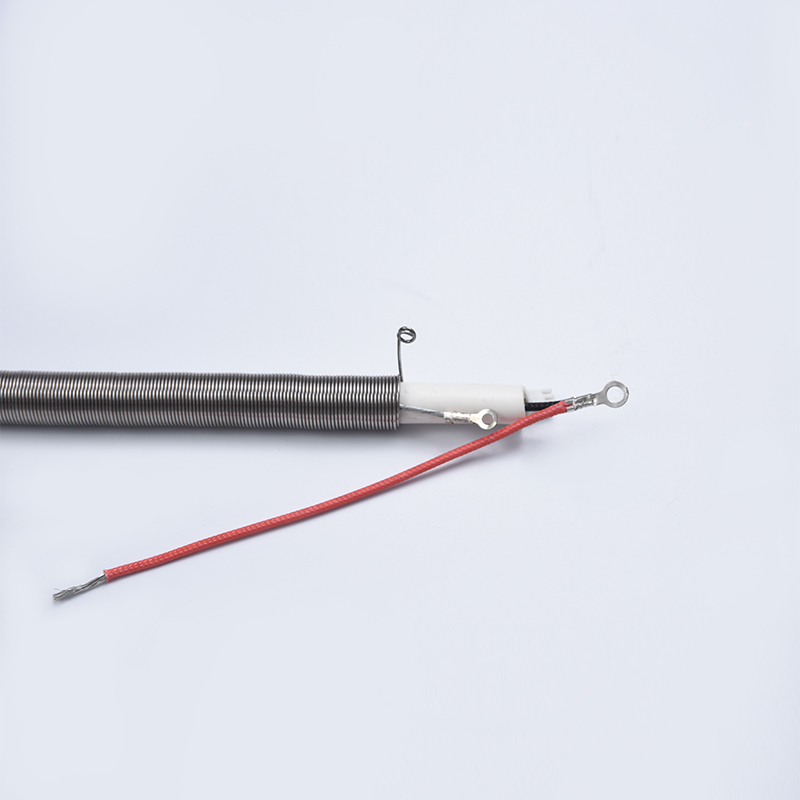
Environmental appliances add their own constraints, particularly around moisture and heating elements, which is why sealed connectors and temperature-rated insulation feature heavily in that range:
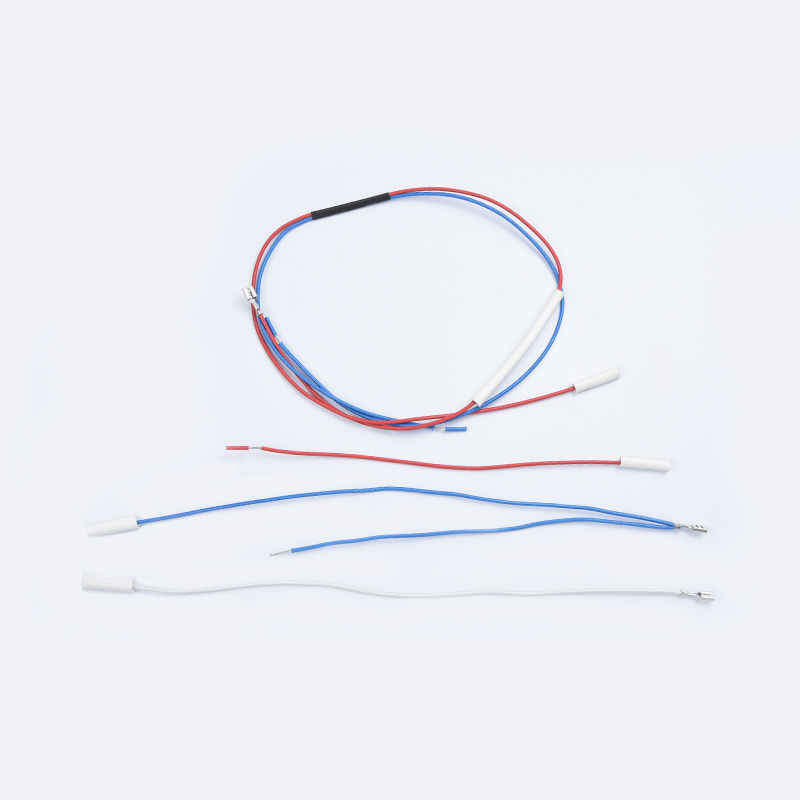
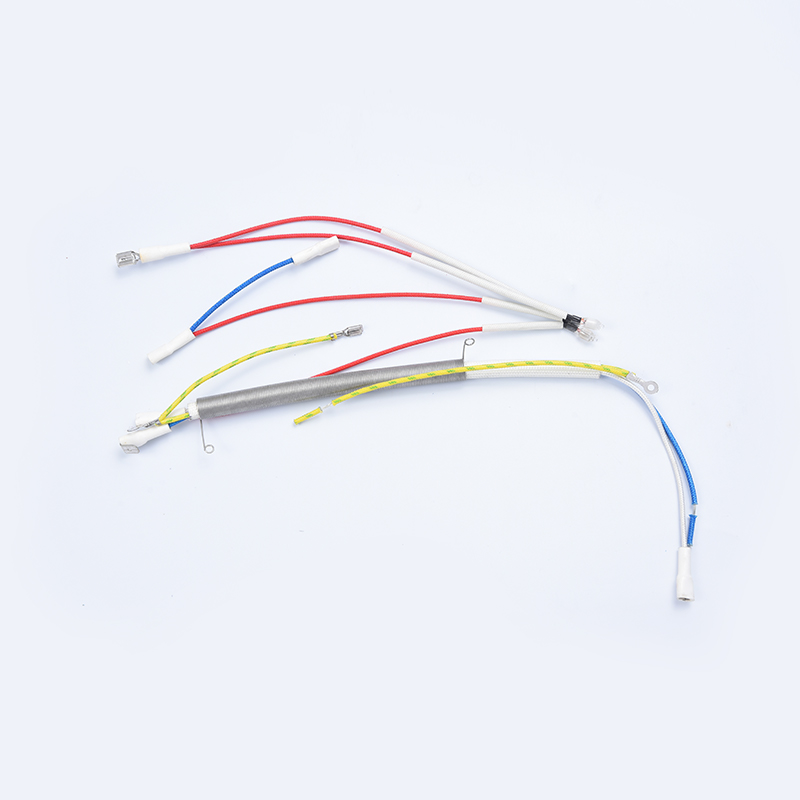
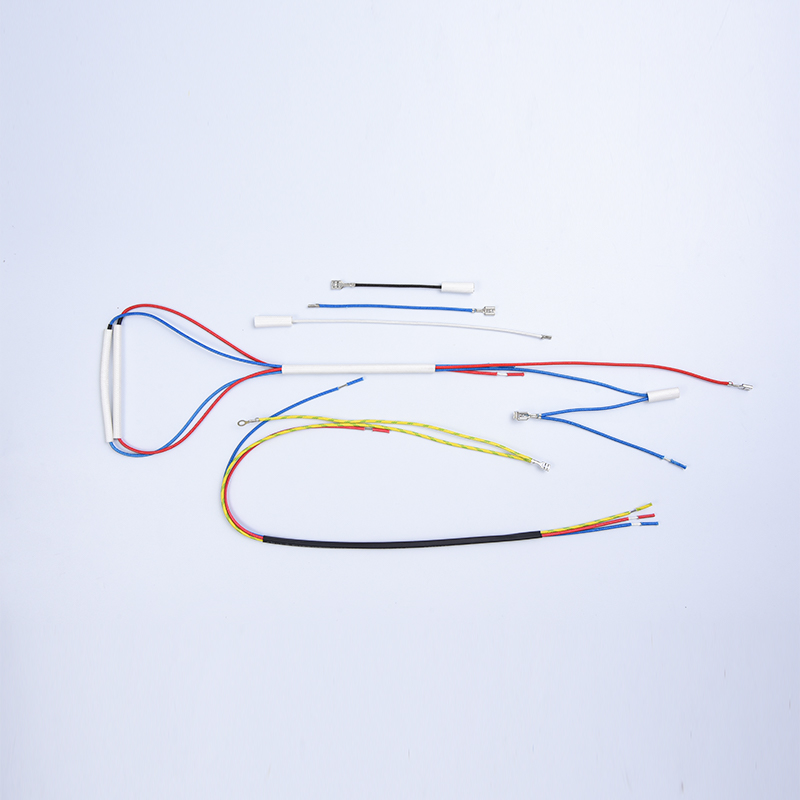 Environmental Electrical Wiring Harness for Harsh ConditionsReview harness types for heaters, ice makers, washing machines, and more, with construction details for moisture, heat, and mechanical protection in demanding environments.View Product →
Studying a professionally built harness, even one from a different industry, is one of the fastest ways to raise your own standards on the bench.
A Realistic Learning Path at a Glance
Progress is rarely linear, but the sequence below keeps you from jumping into diagnostics before the basics have settled.
| Stage | What you practice | Sign you are ready to move on |
|---|---|---|
| 1 | Circuit theory and vocabulary | You can explain power, load, and ground without notes |
| 2 | Reading and redrawing diagrams | You can trace one circuit from fuse to ground unaided |
| 3 | Bench builds with switch, relay, and fuse | Your relay circuit works first time, every time |
| 4 | Meter work and voltage drop testing | You can identify a bad ground in under a minute |
| 5 | Non-critical circuits on the car | You finish a repair with no new faults |
| 6 | Building your own small harness | Connectors are crimped, sealed, and strain relieved |
Mistakes That Slow Beginners Down
- Replacing a blown fuse without finding out why it blew.
- Using a test light on computer-controlled circuits instead of a high-impedance meter.
- Assuming a component has failed when the connector or ground is at fault.
- Choosing wire by what is in the drawer rather than by current and length.
- Leaving a circuit unfused "just for testing", which is how harness fires begin.
- Skipping the notebook, then repeating the same three tests.
How Long It Takes, and How to Keep Going
Expect a few weeks of reading and diagram practice before the bench work feels natural, and a few months before you are confident with a multimeter on a live vehicle. Working on a salvage-yard harness speeds this up considerably: buy one cheap, spread it on the floor, and identify every connector against a diagram. It is the closest thing to free practice that exists.
Keep a written log of every circuit you trace and every fault you fix. Within a year that log becomes the most useful reference you own, because it is written in your own words about your own car.
Where to Start Tonight
Pick one simple circuit in your own vehicle, find it in the diagram, and trace it from fuse to ground on paper. Then go outside with a meter and confirm what you drew. That single exercise, repeated across a dozen circuits, is the whole method. Everything else is detail.